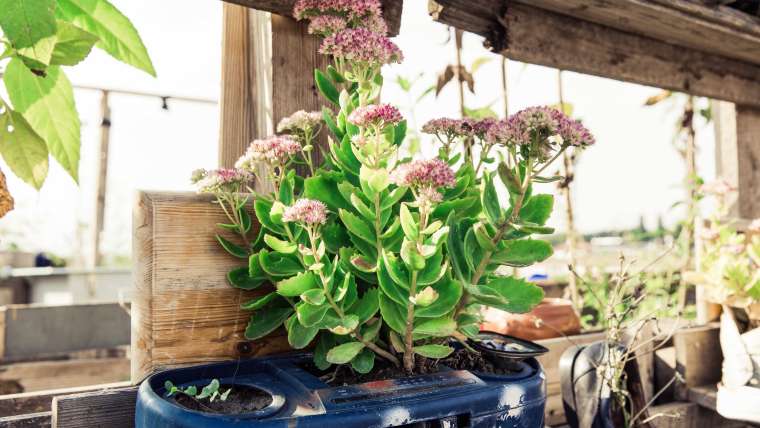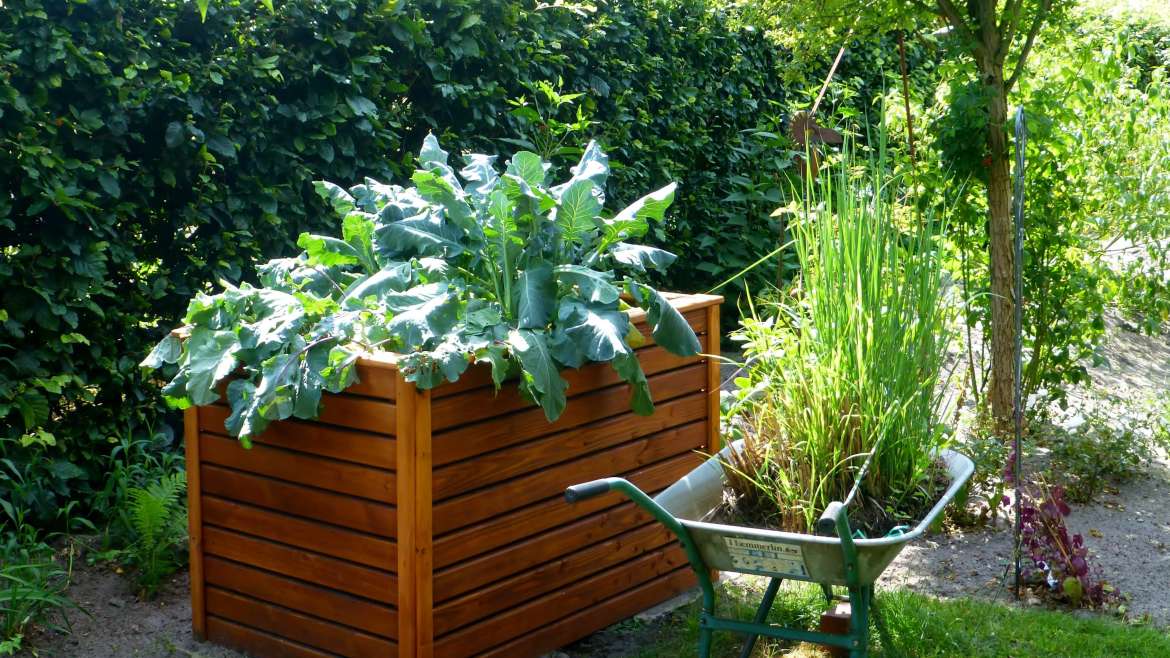
Check out how to build a raised bed. Raised garden beds are an excellent gardening solution that offers several benefits for growing plants.
By elevating the soil, they provide better drainage, which is particularly useful in areas with poor or compacted soil.
Raised beds also make it easier to control dirt quality, allowing gardeners to create an optimal environment for their plants by adding the right mix of soil, compost, and other amendments.
Additionally, they help reduce weed growth and pest issues, as the defined borders and height can act as barriers.
Raised beds are also more accessible, making gardening easier for those with mobility issues, as they require less bending and stooping.
Overall, raised beds are a versatile and practical choice for any garden, whether you’re growing vegetables, flowers, or herbs.
How to Build a Raised Garden Bed
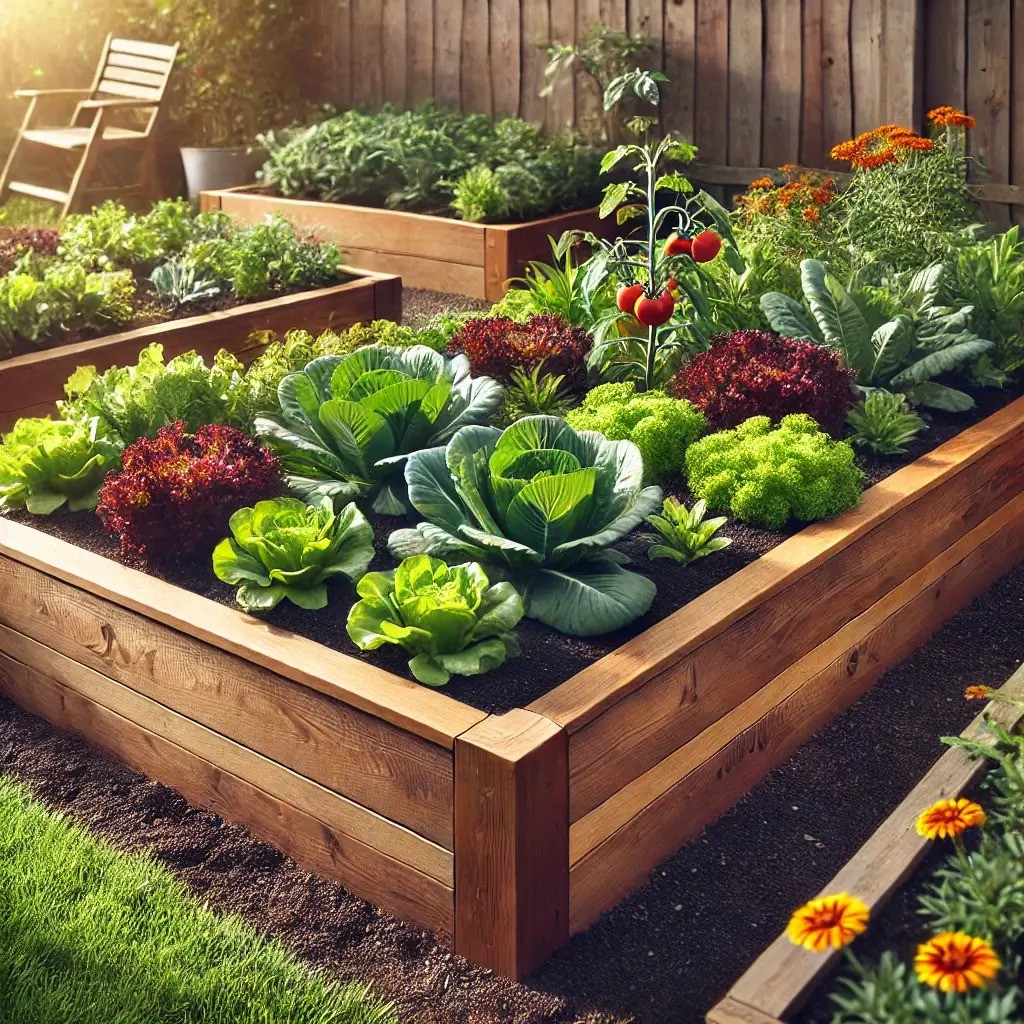
Building a raised garden bed is a great way to grow your plants and vegetables in a controlled environment with better drainage, soil quality, and easier access.
Here’s a step-by-step guide to building your raised garden bed:
Materials Needed:
- Untreated wood (cedar or redwood is preferred for its rot-resistant properties)
- Galvanized screws or nails
- Measuring tape
- Drill or screwdriver
- Carpenter’s square
- Level
- Shovel
- Gardening soil or compost mix
- Landscape fabric (optional)
Step 1: Plan & Measure
- Choose a Location: Select a sunny spot with at least 6-8 hours of sunlight daily.
- Determine the Size: Standard sizes are typically 4 feet wide (to allow easy access from both sides) and 6-12 inches deep. Length can vary depending on space.
- Materials Calculation: For a 4×8 foot bed, you’ll need three 8-foot boards. Cut one in half for the sides, leaving you with two 4-foot boards and two 8-foot boards.
Step 2: Prepare the Site
- Clear the Area: Remove any grass, weeds, or debris from the chosen spot.
- Level the Ground: Use a shovel and a level to ensure the ground is even where the bed will be placed.
- Optional: Lay down landscape fabric to prevent weeds from growing into the bed.
Step 3: Build the Frame
- Cut the Wood: If not pre-cut, cut your wood to the desired lengths.
- Assemble the Frame:
- Lay the boards flat on the ground.
- Using a carpenter’s square, align the corners to 90 degrees.
- Drill pilot holes to prevent the wood from splitting.
- Screw or nail the boards together at the corners.
Step 4: Place the Frame
- Position the Frame: Place the assembled frame in your prepared spot.
- Check Leveling: Use a level to ensure the frame sits evenly. Adjust as needed by digging out or filling in soil underneath.
Step 5: Fill with Soil
- Choose Soil Mix: Use a mix of topsoil, compost, and other organic matter. A good ratio is 60% topsoil, 30% compost, and 10% soilless growing mix.
- Fill the Bed: Shovel the soil mix into the frame, filling it to the top or slightly below the edge.
- Smooth the Surface: Use a rake to level the soil.
Step 6: Plant Your Garden
- Plan Your Layout: Before planting, decide where each plant will go based on their sunlight, space, and water needs.
- Plant Your Seeds or Seedlings: Follow the planting instructions for each plant regarding spacing and depth.
- Water the Plants: Water your garden thoroughly after planting.
Step 7: Maintenance
- Mulch: Consider adding a layer of mulch to help retain moisture and suppress weeds.
- Watering: Keep the soil consistently moist but not waterlogged.
- Fertilize: Add compost or organic fertilizer as needed to maintain soil fertility.
Optional: Additional Features
- Trellis: Add a trellis on one side for climbing plants like tomatoes or cucumbers.
- Protective Cover: Consider installing a hoop house or row cover for protection from pests or to extend the growing season.
Raised Garden Beds FAQ
Raised garden beds are garden plots elevated above ground level, typically enclosed by a frame. They can be made from wood, stone, or other materials and allow for better control over soil quality, drainage, and plant spacing.
Raised garden beds offer several benefits, including improved soil drainage, better weed control, extended growing season, and easier access for planting, weeding, and harvesting.
Common materials include wood (like cedar or redwood), stone, bricks, cinder blocks, or metal. The choice depends on your budget, aesthetic preferences, and durability requirements.
A depth of 6 to 12 inches is usually sufficient for most vegetables and plants. However, for root vegetables like carrots or potatoes, deeper beds of 12 to 24 inches may be necessary.
A mix of high-quality topsoil, compost, and organic matter is ideal. A common mix is one-third topsoil, one-third compost, and one-third coarse sand or perlite for drainage.
Using weed barriers, like landscape fabric or cardboard at the bottom of the bed, adding mulch on top, and regular weeding can help keep weeds at bay.
Raised beds, same as container gardening, typically require more frequent watering, especially during hot weather.
Regularly adding compost, rotating crops, and using organic fertilizers can help maintain soil fertility. It’s also beneficial to test the soil periodically and amend it as needed.
Yes, raised garden beds can be placed on patios, decks, or other hard surfaces. Ensure the beds have good drainage and use a liner if necessary to prevent soil loss.
The lifespan of a raised garden bed depends on the materials used. Wooden beds can last 5-15 years, while stone or metal beds can last much longer with proper care.
Sign up to get our FREE weekly emails
Gardening guides, tips, & videos delivered right to your inbox!