
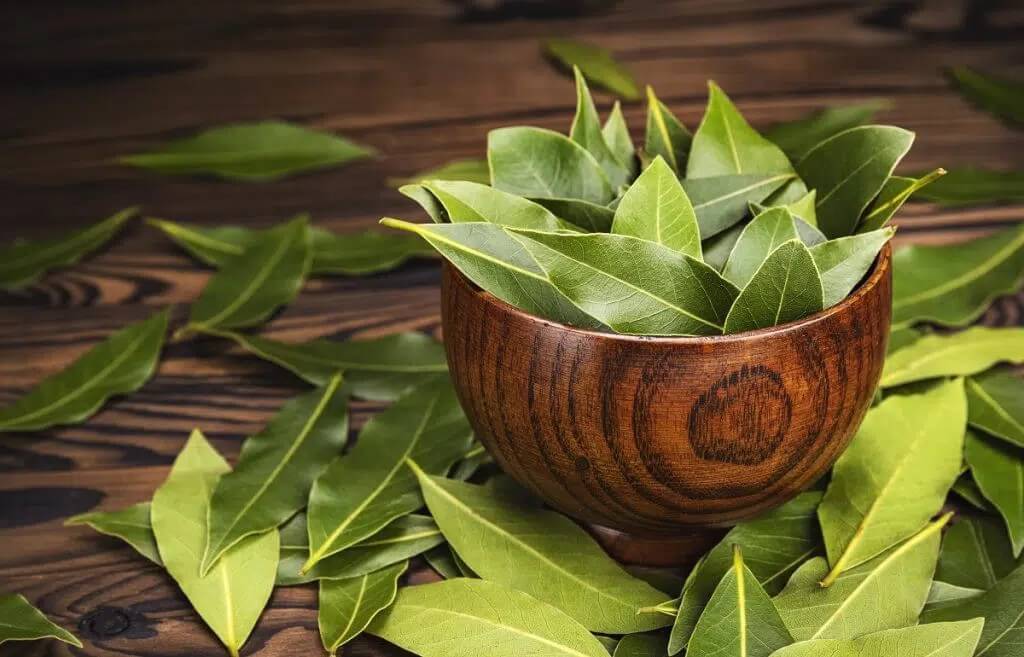
Bay Leaf. Not the most glamorous name, but trust me, it’s a game changer in the kitchen. If you’ve ever added a bay leaf to a simmering pot of soup or stew, you know it has this magical way of deepening flavors without overpowering them. It’s like the quiet genius of the spice world—subtle, yet essential.
This evergreen tree might not grab your attention at first, but the moment you rip a fresh leaf off and crush it between your fingers, the aroma will hit you like a tiny, fragrant storm. Bay leaves bring warmth and complexity to so many dishes, and if you’re into herbal medicine, they’ve got you covered too—people have been using them for everything from digestive health to anxiety relief for centuries.
They thrive in sunny, well-drained spots and need a little patience while they get established, but once they do, they’re low-maintenance and tough as nails. They’re slow-growers, but give them a little space to stretch out, and you’ll get a tree that can live for years, providing fresh leaves whenever you need them.
The tree itself? A thing of beauty. Glossy, dark green leaves with a waxy sheen that make it look like it’s always had a good skincare routine. Just don’t expect it to start handing out flavorful leaves right away. Like all good things, bay leaves take their time.
How to Grow Bay Leaf

Growing bay leaf plants can be a rewarding gardening experience, as they provide fresh leaves for cooking and have a pleasant aroma. Below is a guide to growing bay leaf.
Planting Bay Leaf
- Choosing the Location: Bay laurel can be grown in pots or directly in the ground. Choose a location with full sun to partial shade. Ensure good air circulation to prevent fungal diseases.
- Soil: Bay laurel prefers well-draining soil with a slightly acidic to neutral pH (6.0-7.0). Amend the soil with compost to enhance drainage and fertility.
- Planting:
- From Seeds: Bay leaf seeds can be slow to germinate. Soak them in warm water for 24 hours before planting. Plant seeds about 1 inch deep in a potting mix. It can take a few weeks to a few months for seeds to germinate.
- From Cuttings: Take semi-hardwood cuttings (4-6 inches long) in late summer. Dip the cut end in rooting hormone and plant it in a pot filled with a mix of sand and compost. Keep the soil moist and place the pot in a warm, bright location.
- Transplanting: If planting directly in the garden, space plants 3-4 feet apart. Dig a hole as deep as the root ball and twice as wide. Place the plant in the hole, backfill with soil, and water thoroughly.
Growing Bay Leaf
- Watering: Water regularly, especially during the first year to establish a strong root system. Once established, bay laurel is drought-tolerant but prefers consistent moisture. Avoid overwatering as this can lead to root rot.
- Fertilizing: Feed with a balanced fertilizer in early spring and again in midsummer. Use a slow-release fertilizer or organic compost.
- Pruning: Bay laurel responds well to pruning and can be shaped as a hedge or topiary. Prune in late spring or early summer to maintain the desired shape and remove dead or damaged leaves.
- Pests and Diseases: Watch out for scale insects and aphids. Treat with insecticidal soap or neem oil if necessary. Bay laurel is relatively resistant to most pests and diseases.
Harvesting Bay Leaf
- Timing: You can start harvesting bay leaves once the tree has matured, usually after two years. Leaves can be harvested year-round, but they are most flavorful in the summer.
- Method: Pick mature, dark green leaves from the plant. Avoid picking young, pale leaves as they have less flavor.
- Drying: For storage, dry the leaves by spreading them in a single layer on a screen or paper towel in a warm, dry, and well-ventilated area. Leaves are ready when they are completely dry and brittle.
- Storing: Store dried bay leaves in an airtight container in a cool, dark place. Properly stored, they can retain their flavor for up to a year.
Additional Tips
- Overwintering: In colder climates (below USDA zone 7), bay laurel should be grown in containers and brought indoors during the winter. Place the pot in a bright spot and reduce watering to prevent root rot.
- Propagation: Bay laurel can also be propagated by layering. Bend a low-growing branch to the ground and cover a section with soil. Once roots have developed, cut the branch from the parent plant and transplant.
Bay Leaf Growing Zone
Bay laurel (Laurus nobilis), commonly known as bay leaf, is a hardy evergreen tree or shrub that is typically grown in USDA hardiness zones 8 through 10. This plant prefers a Mediterranean climate, with mild, wet winters and hot, dry summers.
- Zone 8: Bay laurel can survive in this zone but may need protection during extreme cold snaps, especially if temperatures drop below 20°F (-6°C).
- Zone 9: This is an ideal zone for bay laurel, as it thrives in the mild winters and warm summers typical of this region.
- Zone 10: Bay laurel grows very well here, with minimal risk of frost and plenty of warmth throughout the year.
If you live in a cooler zone, you can still grow bay laurel in a pot and bring it indoors during the winter months to protect it from frost.
Growing Bay Leaf FAQ
Yes, Bay Leaf plants can be grown indoors, especially in regions with cold winters. Place them near a sunny window where they can receive at least 6 hours of direct sunlight daily. Rotate the plant periodically to ensure even growth.
Bay Leaves can be harvested once the plant is well-established, typically after 2-3 years. Pick mature, healthy leaves and dry them in a cool, dark place before storing them in an airtight container.
Bay Leaf plants grow slowly, taking several years to reach a height of 6 to 12 feet (1.8 to 3.6 meters) when planted outdoors. Indoor plants will grow slower due to the controlled environment.
Yes, Bay Leaf plants can be propagated from cuttings or seeds. Cuttings taken in the spring or summer root more easily. Seeds can be planted in well-draining soil, but germination can be slow and erratic.
Sign up to get our FREE weekly emails
Gardening guides, tips, & videos delivered right to your inbox!


