Growing currants in containers offers numerous benefits, making it an appealing choice for gardeners with limited space. Containers allow you to control soil quality, drainage, and moisture levels, ensuring optimal conditions for the plant. They are ideal for urban gardens, patios, and balconies, making currants accessible even in small spaces.
Container gardening also makes it easier to manage pests and diseases, as you can isolate the plants if needed. Additionally, you can move the containers to maximize sunlight exposure or protect them from harsh weather, resulting in healthier plants and better fruit production. This flexibility and control make growing currants in containers a practical and rewarding option.
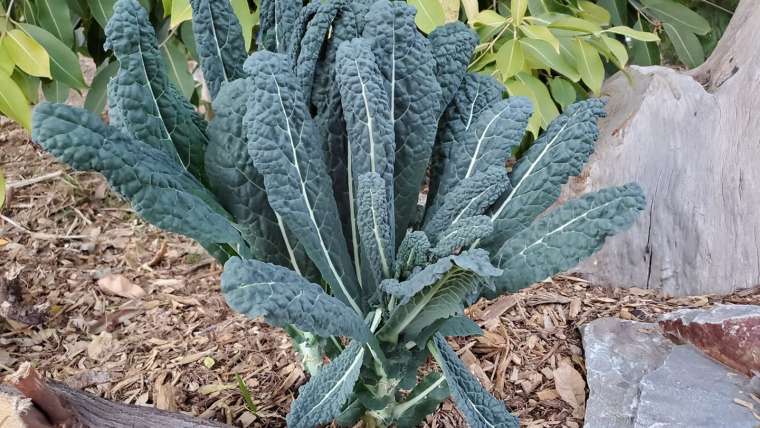
Growing Currants in Pots

Currants are versatile and nutrient-rich berries that can thrive in containers, making them an excellent choice for gardeners with limited space. Whether you grow black, red, or white currants, this guide will walk you through the entire process, from choosing the right container to harvesting your first crop.
1. Selecting the Right Container
Size and Material
- Size: Choose a container with a minimum capacity of 5 gallons (19 liters) and at least 18 inches (45 cm) deep. Currants have a deep root system that needs room to grow.
- Material: Containers made of ceramic, plastic, or wood work well. Ensure the material is durable and can withstand seasonal weather changes.
Drainage
- Ensure the container has drainage holes at the bottom to prevent waterlogging. Currants are susceptible to root rot if left in water-saturated soil.
2. Choosing the Right Currant Variety
Currants come in three main types:
- Black currants: Rich and tart, suitable for preserves and syrups.
- Red currants: Sweet-tart, ideal for fresh eating and jams.
- White currants: Sweeter than red currants, perfect for desserts.
Popular container-friendly varieties include:
- Black currant: ‘Ben Sarek’, ‘Titania’
- Red currant: ‘Red Lake’, ‘Rovada’
- White currant: ‘Blanka’
3. Preparing the Potting Mix
Ideal Soil
- Use a loamy, well-draining potting mix with a pH of 6.0–6.5.
- Mix in organic matter such as compost or aged manure to enrich the soil.
Soil Composition
A recommended mix:
- 60% potting soil
- 30% compost
- 10% perlite or coarse sand (for drainage)
4. Planting Your Currant
Timing
- Plant currants in early spring or late autumn when the plant is dormant.
Steps for Planting
- Fill the container with the prepared potting mix, leaving a few inches at the top.
- Create a small hole in the center, deep enough to cover the roots entirely.
- Place the currant bush in the hole, ensuring the crown is at soil level.
- Backfill with soil, gently firming it around the base.
- Water thoroughly to settle the soil.
5. Positioning and Sunlight
Currants thrive in partial to full sunlight:
- Place the container where the plant receives 4–6 hours of sunlight daily.
- Avoid locations with harsh afternoon sun, as currants prefer cooler conditions.
6. Watering Requirements
- Keep the soil consistently moist but not soggy.
- Water whenever the top inch of soil feels dry.
- Use mulch (e.g., straw or wood chips) to retain moisture and regulate soil temperature.
7. Feeding and Fertilizing
- Apply a balanced, slow-release fertilizer in early spring (e.g., 10-10-10 NPK).
- Supplement with a high-potassium feed (like tomato fertilizer) during the growing season to encourage fruit production.
- Avoid over-fertilizing, as excessive nitrogen promotes leafy growth over fruit.
8. Pruning and Maintenance
Pruning
- Prune in late winter or early spring to remove:
- Dead or diseased wood
- Overcrowded stems
- Old wood (over 3 years) to encourage new growth
- Aim to maintain an open structure with 3–5 main stems.
General Care
- Inspect for pests like aphids, spider mites, or sawfly larvae.
- Treat infestations with neem oil or insecticidal soap.
9. Overwintering
- In colder climates, protect the container by:
- Wrapping it in burlap or bubble wrap.
- Moving it to a sheltered location like a garage or unheated greenhouse.
10. Harvesting Currants
- Currants typically produce fruit 1–2 years after planting.
- Harvest when the berries are:
- Fully colored (black for black currants, bright red for red currants, and pale yellow for white currants)
- Firm and slightly soft to the touch.
FAQ
Yes, currants (black, red, or white) can thrive in pots as long as the container is large enough and they receive proper care.
Water regularly to keep the soil consistently moist but not waterlogged. In summer, you may need to water more frequently, especially during dry spells.
Move pots to a sheltered location (e.g., against a wall or into a shed) to protect roots from freezing. Insulate pots with bubble wrap or burlap. Water sparingly, ensuring the soil doesn’t dry out completely.
Yes, currants are susceptible to pests like aphids, spider mites, and sawfly larvae, and diseases like powdery mildew and leaf spot. Monitor regularly and treat with appropriate organic or chemical solutions as needed.
Currants typically start producing fruit in their second or third year. The harvest season usually falls in mid to late summer, depending on the variety.
It’s best to grow only one plant per pot to avoid overcrowding and ensure each plant has enough nutrients and space.
Sign up to get our FREE weekly emails
Gardening guides, tips, & videos delivered right to your inbox!