Growing potatoes in containers offers several benefits, especially for gardeners with limited space or poor soil conditions.
Containers allow you to control the growing environment, including soil quality, moisture levels, and pest management. This method also makes harvesting easier, as you can simply tip the container to access the potatoes, reducing the risk of damaging them during the process.
Additionally, container gardening can prevent issues like soil-borne diseases and overcrowding, resulting in healthier plants and better yields. Plus, it’s a convenient way to grow potatoes in urban settings like balconies or patios.
How to Grow Potatoes in Pots
Growing potatoes in pots allows you to harvest fresh, homegrown potatoes even if you lack traditional garden space. Follow this step-by-step guide to successfully grow potatoes in containers.
1. Choosing the Right Container
Potatoes need plenty of room to grow, particularly in terms of depth. Choose a container that is at least 12 inches (30 cm) deep, but deeper is better. Some great container options include:
- Large plastic or fabric pots (grow bags)
- Barrels or old buckets
- Wooden crates or potato towers
Make sure the container has good drainage, as potatoes don’t like soggy soil.
2. Selecting Seed Potatoes
Always use certified seed potatoes rather than store-bought ones, as they are free of diseases. You can choose from various varieties, including:
- Early varieties: ‘Yukon Gold,’ ‘Red Norland’ (these mature faster).
- Maincrop varieties: ‘Russet Burbank,’ ‘Kennebec’ (larger yields, but longer growing time).
3. Preparing the Seed Potatoes
Cut the seed potatoes into pieces if they are large, making sure each piece has at least one or two “eyes” or buds.
Let them dry for a day or two to heal over the cut surfaces, which helps prevent rot.
4. Choosing the Right Soil
Potatoes need loose, well-draining soil that’s rich in organic matter. You can either use a high-quality potting mix or make your own by mixing:
- 2 parts garden soil or potting mix
- 1 part compost
- 1 part sand or perlite for drainage
Ensure the soil is slightly acidic (pH between 5.0 and 6.0) for the best growth.
5. Planting the Potatoes
- Layering Method: Start by filling your container with about 4-6 inches (10-15 cm) of soil.
- Planting: Place the seed potatoes on the soil, cut side down, with the eyes facing up. Space them evenly—about 12 inches (30 cm) apart if planting multiple pieces.
- Covering: Gently cover the potatoes with another 3-4 inches (7-10 cm) of soil.
6. Watering
Potatoes need consistent moisture but not waterlogging. Keep the soil moist, especially as the plants grow, but avoid overwatering.
Stick your finger into the soil to check the moisture level. Water the plants when the top 2-3 inches (5-7 cm) of soil feel dry.
7. Hilling the Potatoes
As your potato plants grow and reach about 6-8 inches (15-20 cm) in height, add more soil around the base, covering the lower stems.
This is known as “hilling” and helps protect the developing tubers from sunlight, which can turn them green and toxic. Continue hilling until your container is full or until the plants stop growing taller.
8. Fertilizing
Potatoes are heavy feeders, so fertilizing is key to a successful harvest. Use a balanced fertilizer (10-10-10) or one specifically formulated for root vegetables.
Apply the fertilizer according to the package instructions during planting and again halfway through the growing season.
9. Providing Sunlight
Place your containers in a location that receives full sunlight—6-8 hours a day is ideal. Potatoes need plenty of sunlight to produce healthy tubers, so make sure the spot isn’t shaded for long periods.
10. Pest and Disease Control
Common pests like aphids, Colorado potato beetles, and slugs may attack your plants. Here’s how to handle them:
- Aphids: Spray with insecticidal soap or use a blast of water.
- Potato beetles: Pick them off by hand or use organic pesticides.
- Slugs: Set up beer traps or use slug pellets.
To prevent diseases like blight, ensure proper drainage and avoid overcrowding the plants. Rotate your potato crop each season and don’t reuse the same soil for future potato crops to prevent soil-borne diseases.
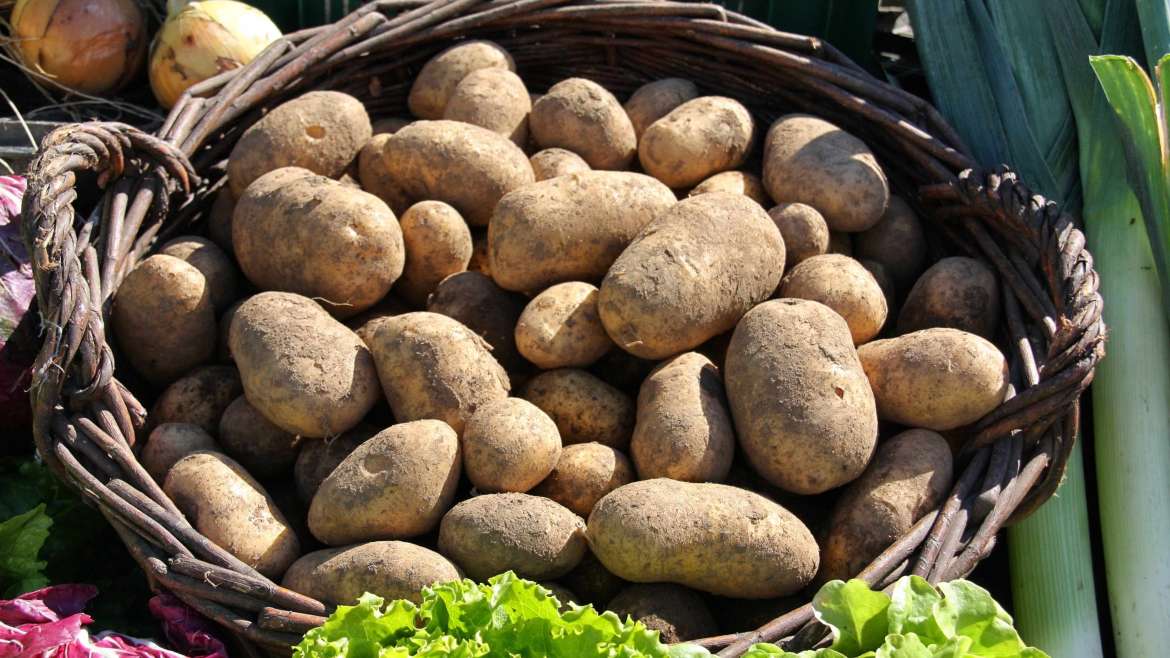
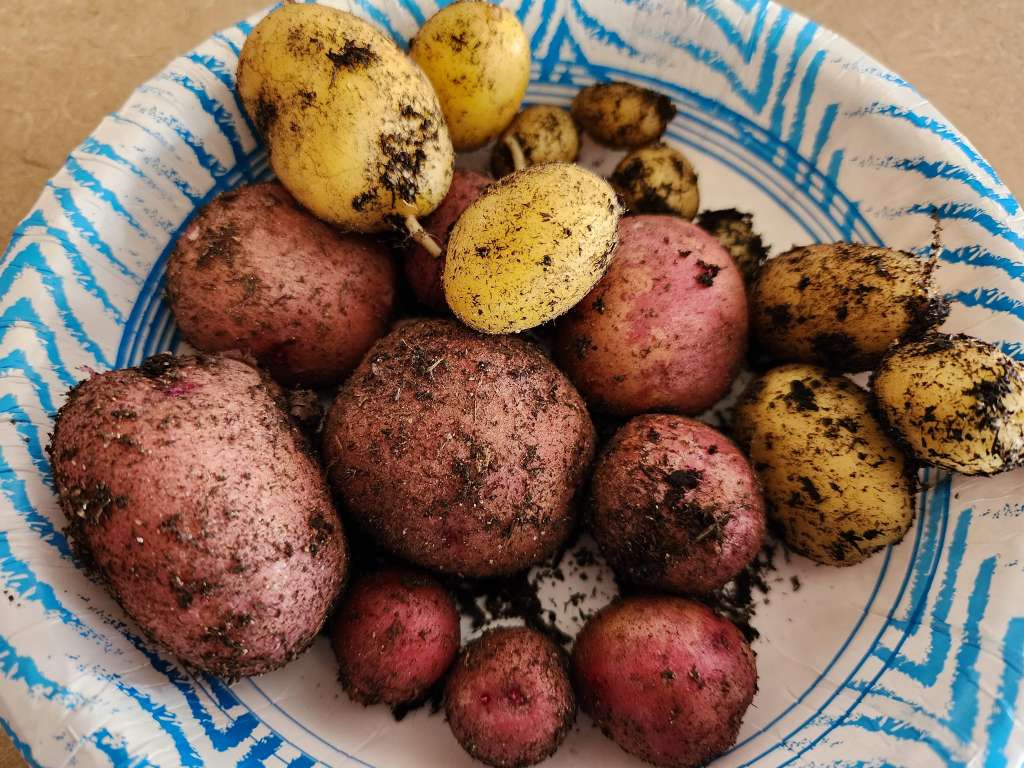
11. Harvesting Potatoes
Potatoes are ready to harvest when the plants start to yellow and die back, which usually happens about 10-12 weeks after planting for early varieties, or up to 20 weeks for maincrop varieties. To harvest:
- Dump out the container carefully.
- Dig through the soil and collect your potatoes.
- Brush off excess dirt and allow them to cure for a few days in a cool, dark, and dry place.
FAQ
Yes, growing potatoes in pots is a popular method, especially for gardeners with limited space. Choose large, deep pots (at least 12-18 inches deep) to allow room for tubers to develop.
For a 10-gallon container, plant 1-2 seed potatoes. In larger containers, you can plant more, but avoid overcrowding to give the plants enough room to grow.
You can grow most types of potatoes in containers, including early (first earlies), second earlies, and maincrop varieties. Early varieties are typically preferred for pots because they mature faster.
Potatoes are usually planted in early spring, about 2-4 weeks before the last expected frost. If you have a greenhouse or indoors area, you can start them even earlier.
Plant seed potatoes about 4-6 inches deep in the pot. As the plant grows, you can add more soil around the stem (a process called “hilling”) to encourage tuber production.
Potatoes need consistent moisture, so water regularly but avoid overwatering. The soil should be moist but not soggy. Pots tend to dry out faster than garden soil, so check the moisture level frequently.
For early potatoes, harvest about 10-12 weeks after planting when the plants flower. For maincrop varieties, wait until the plants start to die back, usually around 15-20 weeks after planting.
Sign up to get our FREE weekly emails
Gardening guides, tips, & videos delivered right to your inbox!


