Gardening is a rewarding hobby that can provide fresh, nutritious produce, reduce stress, and connect you to nature. However, for beginners, the process of growing plants can sometimes seem daunting. If you’re new to gardening and are looking for an easy, quick, and gratifying crop to grow, radish greens are a perfect starting point.
Not only are they simple to cultivate, but they also offer a range of culinary and health benefits. This article will explain why radish greens are ideal for beginners, how to grow them, and ways to enjoy them in your meals.
Why Radish Greens?

Radish greens are the leafy tops of radishes (Raphanus sativus), a root vegetable that belongs to the Brassicaceae family, which also includes broccoli, cabbage, and kale.
While radishes are known for their crisp, spicy roots, their greens are an often-overlooked treasure that can be just as valuable in your kitchen. Here are some compelling reasons why radish greens are perfect for beginners:
1. Fast-Growing Crop
One of the most satisfying aspects of growing radish greens is how quickly they mature. Radishes are among the fastest-growing vegetables, typically ready to harvest within 3 to 4 weeks.
Their greens, however, can be harvested even earlier, often in just 10 to 14 days. This short turnaround time allows beginners to experience the joy of harvesting without a long wait.
2. Minimal Space Requirements
Radish greens can be grown in small gardens, pots, or even window boxes. Their compact size makes them perfect for urban gardeners or those with limited space.
Because they don’t require deep soil, you can successfully grow them in shallow containers, making them accessible for anyone with a balcony or patio.
3. Easy to Grow
Radishes are one of the least fussy plants you can grow. They thrive in a variety of conditions and don’t require extensive care.
Radish greens are also relatively pest-resistant compared to other leafy greens, meaning you’re less likely to encounter issues with bugs or disease. As long as you provide basic care, you’ll likely have a successful harvest.
4. Continuous Harvesting
You can harvest radish greens repeatedly. If you choose to pick only the outer leaves, the plant will continue to produce new growth.
This “cut-and-come-again” approach allows you to enjoy fresh greens over an extended period without needing to replant frequently.
5. Nutrient-Dense and Versatile
Radish greens are packed with vitamins and minerals. They are rich in vitamin C, vitamin A, calcium, potassium, and iron.
Additionally, they contain antioxidants and have anti-inflammatory properties. Their peppery, slightly bitter flavor adds a unique twist to dishes, making them a versatile addition to your kitchen.
How to Grow Radish Greens
Growing radish greens is a straightforward process, making it an ideal first project for aspiring gardeners. Here’s a step-by-step guide to help you get started:
Step 1: Choose the Right Variety
While all radish varieties produce edible greens, some types are particularly suited for leafy growth. Consider varieties like ‘Cherry Belle,’ ‘French Breakfast,’ or ‘White Icicle,’ which are known for their tender, flavorful greens.
Step 2: Select the Planting Site
Radishes prefer full sun, so choose a spot that gets at least 6 hours of direct sunlight per day. If you’re growing them in containers, place the pots in a sunny location like a windowsill, balcony, or patio.
Step 3: Prepare the Soil
Radishes thrive in well-draining, fertile soil. Use a mix of compost and potting soil to ensure the plants get adequate nutrients. The soil should be loose and crumbly, as compacted soil can hinder growth. Aim for a pH level between 6.0 and 7.0.
Step 4: Sow the Seeds
Plant radish seeds about 1/4 to 1/2 inch deep and 1 inch apart. If you’re planting in rows, space the rows about 6 inches apart. For container gardening, sow the seeds in evenly spaced patterns.
Step 5: Water Consistently
Radishes need consistent moisture to grow well. Water the soil gently but thoroughly, ensuring it stays moist but not waterlogged.
Overwatering can lead to rot, while underwatering can cause the greens to become tough and the roots to become woody.
Step 6: Thinning the Plants
Once the seedlings emerge, thin them out by removing weaker plants to provide adequate space for the remaining radishes to grow.
Aim for 2 to 3 inches of space between plants. These thinnings can be used in salads or as microgreens.
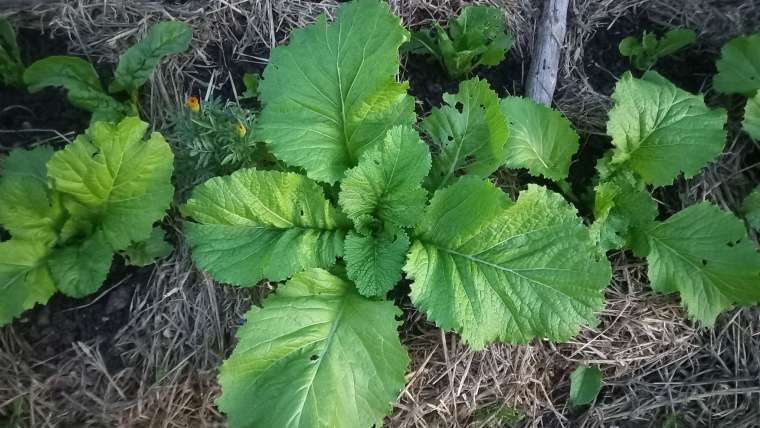
Step 7: Harvesting the Greens
Radish greens can be harvested as soon as they are a few inches tall. Use scissors to snip the outer leaves, leaving the center intact so the plant can continue to grow.
If you’re growing radishes primarily for the greens, you can harvest the entire plant once the greens are mature.
Common Issues and Solutions
Pests
While radish greens are relatively pest-resistant, you might encounter aphids or flea beetles. If pests become a problem, use organic solutions like neem oil or introduce beneficial insects like ladybugs to your garden.
Bolting
Radishes can bolt (go to seed) in hot weather. To prevent this, plant radishes in cooler seasons like spring or fall. If you live in a warm climate, consider growing them in partial shade.
Poor Germination
If your seeds don’t germinate well, check the soil moisture and temperature. Radish seeds prefer cool soil temperatures (between 50°F and 65°F). Ensure you’re not planting them too deeply.
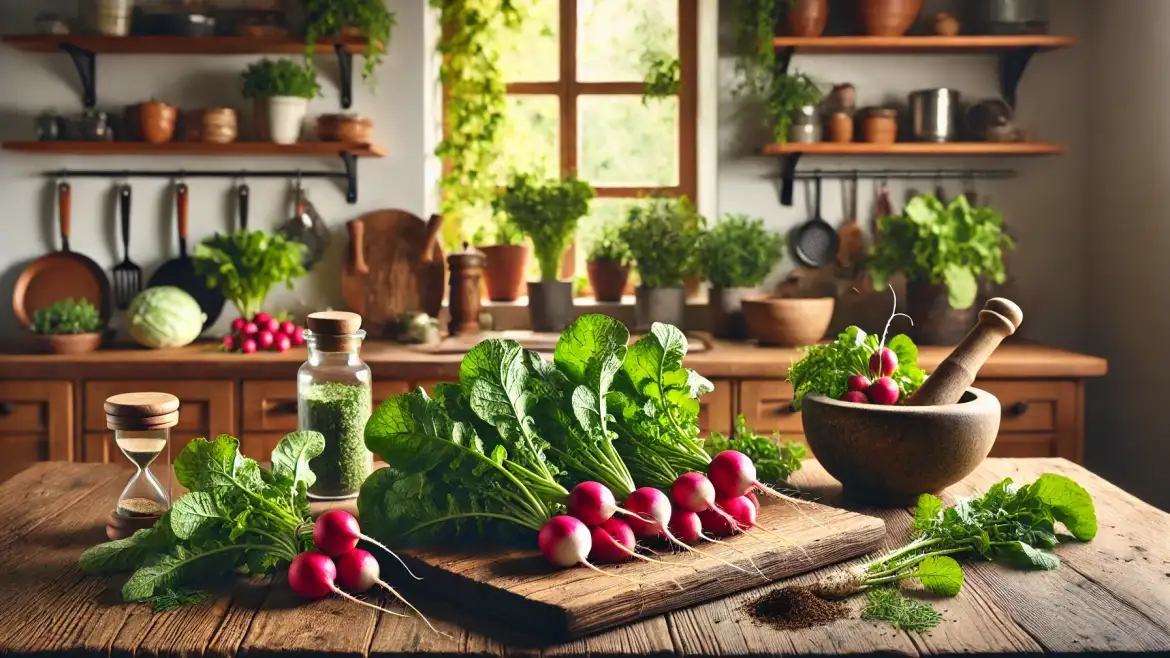
How to Use Radish Greens in the Kitchen
Radish greens are incredibly versatile and can be used in a variety of dishes. Here are some ideas to incorporate them into your meals:
1. Radish Greens Salad
Mix fresh radish greens with other salad greens, cherry tomatoes, and a light vinaigrette. Their peppery flavor adds a refreshing bite.
2. Sautéed Radish Greens
Sauté radish greens in olive oil with garlic, salt, and pepper. This quick side dish pairs well with grilled meats or pasta.
3. Radish Greens Pesto
Blend radish greens with garlic, nuts (like walnuts or pine nuts), Parmesan cheese, and olive oil to create a zesty pesto. Serve with pasta, bread, or as a sandwich spread.
4. Radish Greens Smoothie
Add a handful of radish greens to your favorite smoothie for an extra nutrient boost. Pair them with fruits like apples, bananas, and citrus to balance their peppery taste.
5. Soup and Stews
Add chopped radish greens to soups, stews, or curries. They wilt quickly and add a nutritious punch to any warm dish.
Health Benefits of Radish Greens
Radish greens are not just tasty; they’re packed with nutrients that offer several health benefits:
- Rich in Antioxidants: Radish greens contain antioxidants that help fight free radicals, reducing oxidative stress and inflammation.
- High in Fiber: They aid in digestion and promote gut health.
- Vitamin C Boost: Supports immune function and skin health.
- Detoxifying Properties: Radish greens help cleanse the liver and kidneys.
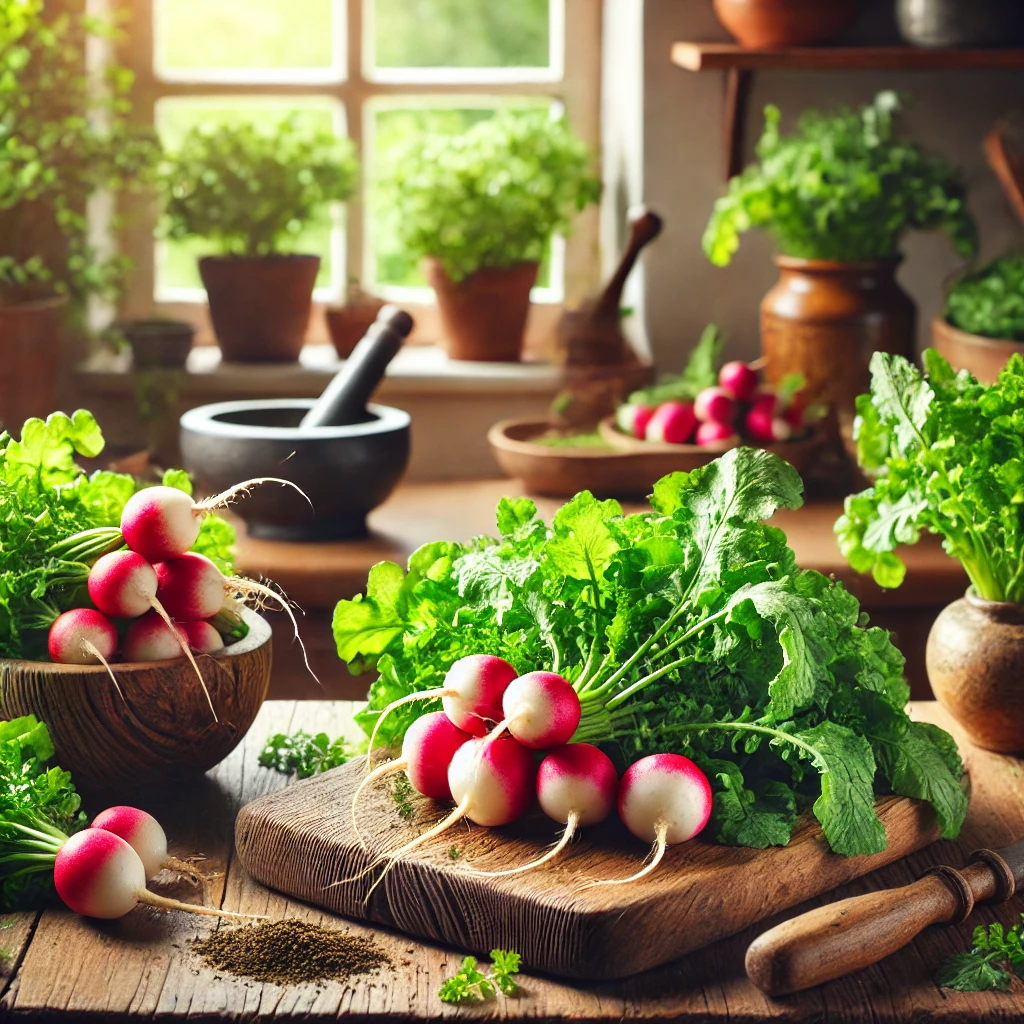
Final Thoughts
For beginner gardeners, radish greens offer a fast, easy, and satisfying introduction to the world of gardening. Their minimal requirements, quick growth cycle, and versatility in the kitchen make them an excellent choice for anyone looking to cultivate their own food.
Whether you have a large backyard, a small patio, or a windowsill, radish greens can thrive in your space. Try growing them today, and enjoy the joy of harvesting fresh, nutritious greens right from your home!