Growing Black-Eyed Susans in pots offers versatility and convenience for gardeners of all levels. These hardy and cheerful flowers thrive in containers, making them an excellent choice for small spaces such as balconies, patios, or urban gardens. By growing them in pots, you can control the soil quality and drainage, ensuring optimal conditions for their health.
In addition to above, the portability of pots allows you to move the plants to different locations to capture the best sunlight throughout the day, as Black-Eyed Susans prefer full sun. This mobility also makes it easier to protect the plants from harsh weather conditions or pests, extending their blooming period.
Potted Black-Eyed Susans are low-maintenance, making them ideal for busy gardeners or beginners. The contained environment helps limit the spread of weeds and makes it easier to water and fertilize precisely. Furthermore, these vibrant blooms add a splash of color to any space and can be paired with other potted plants for a dynamic display.
Their adaptability to pots also encourages experimentation with various pot styles and sizes, enhancing the aesthetic of your outdoor or indoor spaces. Overall, growing Black-Eyed Susans in pots combines beauty, practicality, and ease, creating a delightful gardening experience.
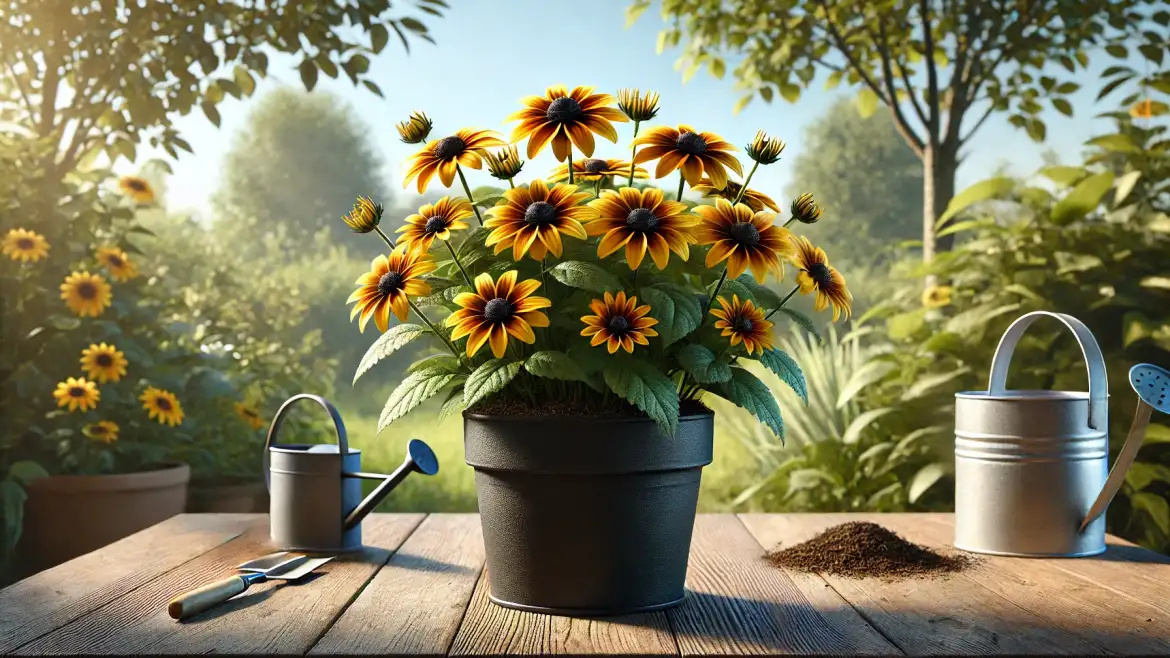
Growing Black-Eyed Susans in a Pot

Black-eyed Susans (Rudbeckia hirta) are popular, hardy flowering plants known for their bright yellow petals and dark brown centers. Growing them in pots is a great way to bring vibrant color to small spaces like patios, balconies, or decks. Here’s how to successfully grow and maintain black-eyed Susans in pots.
1. Choosing the Right Variety
- Select a compact or dwarf variety of black-eyed Susans, as these are better suited for container growth.
- Popular varieties for pots include:
- Rudbeckia hirta ‘Toto’
- Rudbeckia hirta ‘Little Goldstar’
- Rudbeckia hirta ‘Indian Summer’
2. Preparing the Container
- Size: Use a pot at least 12 inches deep and wide to provide adequate space for roots.
- Material: Choose a container made of terracotta, ceramic, or plastic. Ensure it has drainage holes to prevent waterlogging.
- Drainage: Add a layer of gravel or small stones at the bottom to improve drainage.
3. Choosing the Soil
- Use well-draining potting mix rich in organic matter.
- Mix in compost or aged manure to enrich the soil.
- Avoid garden soil, as it can compact in pots and retain too much water.
4. Planting Black-Eyed Susans
- Seeds: Sow seeds directly into the pot in late spring after the last frost. Cover them lightly with soil and water gently.
- Seedlings/Transplants: If using nursery plants or seedlings, plant them in the center of the pot at the same depth they were growing in their original container.
5. Positioning the Pot
- Place the pot in a location that receives 6–8 hours of direct sunlight daily.
- Black-eyed Susans thrive in bright light and can tolerate partial shade, but fewer blooms may develop in less light.
6. Watering Requirements
- Water the plants regularly to keep the soil consistently moist but not soggy.
- Reduce watering frequency during cooler weather to prevent overwatering.
- Use a saucer to catch excess water, but empty it to avoid root rot.
7. Feeding and Fertilizing
- Feed the plants with a balanced, slow-release fertilizer at the start of the growing season.
- Alternatively, apply a liquid fertilizer every 4–6 weeks during active growth.
- Avoid over-fertilizing, as too much nitrogen can lead to excessive foliage at the expense of blooms.
8. Pruning and Deadheading
- Remove spent flowers (deadheading) regularly to encourage continuous blooming.
- Trim back any leggy or damaged stems to maintain the plant’s shape and health.
9. Supporting the Plant and Overwintering
- If the plant grows tall and becomes top-heavy, use stakes or a small trellis to prevent it from tipping over.
- Secure the plant gently with ties to avoid damaging the stems.
- Black-eyed Susans are perennials in USDA zones 3–9 but are often grown as annuals in pots.
- To overwinter them:
- Move the pot indoors to a cool, frost-free location.
- Water sparingly during the dormant period.
- Resume normal care in spring when new growth appears.
10. Common Problems and Solutions
- Pests: Watch for aphids, spider mites, and slugs. Use insecticidal soap or neem oil to manage infestations.
- Diseases: Prevent powdery mildew and root rot by ensuring proper air circulation and drainage.
- Yellowing Leaves: This may indicate overwatering or nutrient deficiency; adjust care accordingly.
11. Companion Planting
- Pair black-eyed Susans with plants like marigolds, zinnias, or ornamental grasses for a vibrant display.
- Avoid overcrowding the pot to give each plant enough space to thrive.
Tips for Success
- Regularly check for pests and diseases to address issues early.
- Use mulch on the soil surface to retain moisture and regulate temperature.
- Keep the pots elevated slightly to ensure proper drainage and airflow.
FAQs
Yes, Black-Eyed Susans thrive in pots as long as they have proper drainage, adequate sunlight, and sufficient space for their roots.
In colder climates, Black-Eyed Susans in pots may not survive winter unless insulated. Move pots indoors or to a sheltered area, and cover the soil with mulch for added protection.
They are typically grown as annuals or short-lived perennials. With proper care, they can last for a growing season, and perennial varieties may return for a few years if overwintered successfully.
While they prefer outdoor conditions, you can grow them indoors near a sunny window or under a grow light that provides sufficient brightness, but still a bit challenging to do so.
Yes, you can propagate them through seeds or by dividing established plants. Sow seeds directly in the pot or divide and repot sections of the root ball.
Sign up to get our FREE weekly emails
Gardening guides, tips, & videos delivered right to your inbox!