Growing bay leaf in containers offers several advantages for gardeners, especially those with limited space. By growing a bay leaf plant in pots, you can easily move the plant to the ideal location for optimal sunlight and temperature.
Container gardening also provides better control over soil quality and drainage, which helps reduce the risk of root rot. Bay leaf plants thrive in pots, as they tend to stay smaller, making them perfect for patios, balconies, or even indoors.
If you’re looking for bay leaf plant care tips, container gardening allows for easier maintenance and ensures the plant receives the proper nutrients. Growing bay leaf in pots also protects the plant from extreme weather, allowing you to bring it indoors during colder months.
In addition to all of that, indoor bay leaf plant care is simplified when growing in containers, as you can monitor water levels and provide the right environment year-round.
Growing Bay Leaf in a Pot

Bay leaves (Laurus nobilis) are an aromatic evergreen shrub that thrives in Mediterranean climates, but they can also be successfully grown in containers, making them a great addition to patios, balconies, or indoor spaces.
Growing bay leaf in containers allows you to easily manage its size and keep it in a location with optimal growing conditions. Here’s a step-by-step guide on how to grow and care for bay leaf plants in containers.
1. Choosing the Right Container
- Size: Bay leaf trees can grow large, so it’s important to start with a container that provides enough room for growth. Choose a pot that is at least 12 to 18 inches in diameter with drainage holes at the bottom.
- Material: Terracotta, ceramic, or plastic pots are all suitable for growing bay leaves. Terracotta pots are porous, which helps prevent overwatering, while plastic pots retain moisture longer.
- Drainage: Ensure the container has good drainage to prevent waterlogged roots, which can lead to root rot. Consider adding a layer of small gravel or rocks at the bottom of the pot to improve drainage.
2. Selecting the Right Soil
- Well-draining soil: Bay trees prefer soil that drains well and does not retain too much moisture. Use a high-quality, well-draining potting mix designed for Mediterranean plants or mix your own using equal parts of regular potting soil, perlite, and sand.
- pH Level: Bay leaves prefer slightly acidic to neutral soil (pH 6.0-7.0). If you’re unsure of your soil’s pH, you can get a soil test kit from a garden center.
3. Planting Bay Leaf in a Container
- Planting Time: The best time to plant bay leaves in containers is during spring or early summer, when the weather is warm, and the risk of frost has passed.
- Transplanting: If you’re transplanting a bay leaf from a nursery container, gently remove it from the pot, loosen the roots if they’re circling around the root ball, and place it in the new container. Fill around the root ball with the prepared potting mix and lightly press down to secure the plant.
- Spacing: If you’re starting from seed, space the seeds about 1-2 inches apart and plant them 1/2 inch deep. Germination can take 3-4 weeks, and seedlings should be spaced at least 10 inches apart once they are large enough to handle.
4. Choosing the Right Location
- Sunlight: Bay leaf trees need plenty of sunlight to thrive. Place the container in a spot that receives full sun (at least 6-8 hours per day). They grow best in warm temperatures and can tolerate some heat.
- Indoor vs. Outdoor: If you live in a warm climate, you can keep the bay leaf outside year-round. In cooler climates, keep the plant indoors during the winter, placing it near a south-facing window or under grow lights.
- Temperature: Bay trees are sensitive to frost and freezing temperatures. When growing bay leaf in containers, they can be brought indoors during the winter months if the outdoor temperature drops below freezing.
5. Watering and Fertilization
- Watering: Bay trees prefer moderate watering. Water the plant deeply when the top inch of the soil feels dry, but make sure the pot drains well to avoid root rot. Overwatering is a common problem for bay leaves, so ensure the soil is never waterlogged. During winter, reduce watering since the plant’s growth slows down.
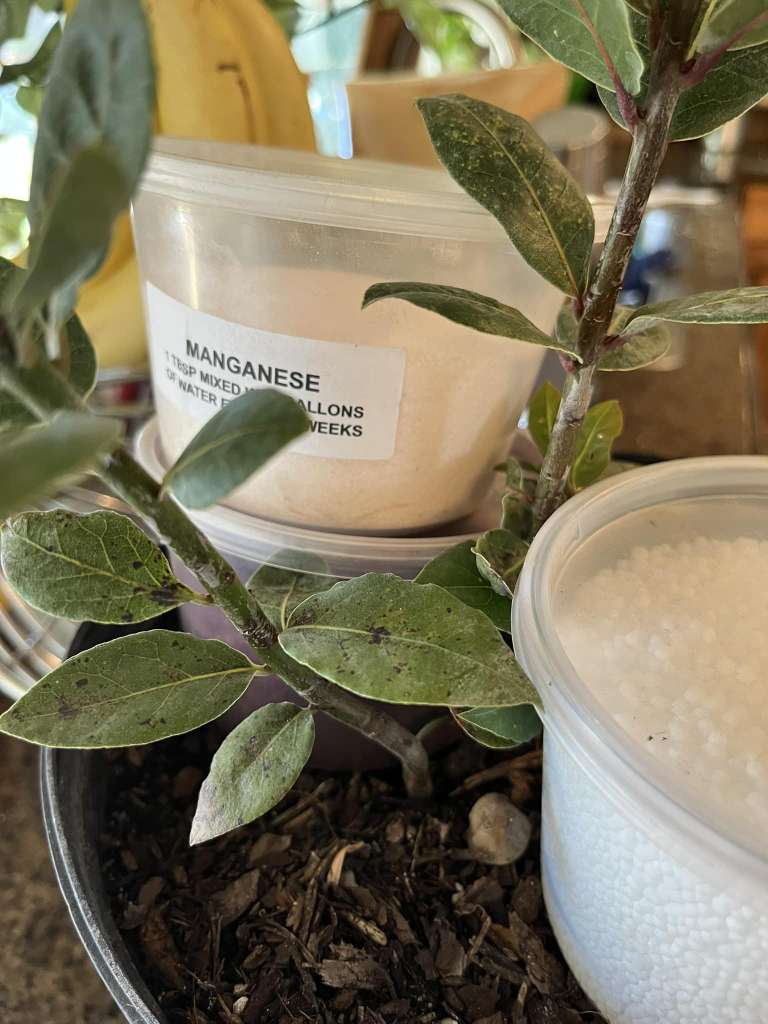
- Fertilization: Feed bay leaf plants with a balanced, slow-release fertilizer during the growing season (spring and summer). A general-purpose fertilizer with equal amounts of nitrogen, phosphorus, and potassium works well. Avoid fertilizing in winter when the plant is dormant.
6. Pruning and Shaping
- Pruning: Bay leaves can grow quite large, so pruning is essential to maintain their shape and size in a container. Prune the plant regularly to remove dead or damaged leaves and encourage a bushy growth habit. You can also prune to shape the plant into a small tree or shrub, depending on your preference.
- Pinching: Pinch off the growing tips during the early stages of growth to encourage branching and a more compact shape.
7. Container Care and Maintenance
- Repotting: Bay leaf trees can outgrow their containers over time. Repot the plant every 2-3 years or when the roots become root-bound. Choose a slightly larger pot (1-2 inches in diameter larger) and refresh the soil during the repotting process.
- Winter Care: In colder climates, bring the container indoors during winter months to protect it from frost. Place the plant in a location with adequate light and reduce watering during this time.
- Pests and Diseases: Bay trees are generally pest-resistant, but they can occasionally suffer from aphids, scale insects, or spider mites. Inspect the plant regularly for signs of pests and treat with insecticidal soap or neem oil if needed. Overwatering can also lead to root rot, so be cautious not to water too frequently.
8. Harvesting Bay Leaves
- When to Harvest: You can start harvesting bay leaves once the plant is well-established, typically after a year or two of growth. Pick the mature, darker leaves from the plant as they are more flavorful. It’s best to harvest bay leaves in the morning when the oils are most concentrated.
- How to Harvest: Use clean, sharp scissors or pruning shears to snip individual leaves. Be careful not to remove too many leaves at once, as this can stress the plant. The plant will continue to produce new leaves throughout the growing season.
- Drying Bay Leaves: Bay leaves can be dried for future use. Simply tie a small bundle of leaves with string and hang them upside down in a cool, dry place. Alternatively, you can lay them out on a clean surface to air dry or use a dehydrator. Store dried leaves in an airtight container.
9. Common Problems and Solutions
- Yellowing Leaves: If your bay tree’s leaves turn yellow, this could indicate overwatering, poor drainage, or a nutrient deficiency. Check the soil moisture, ensure proper drainage, and consider fertilizing with a balanced fertilizer.
- Leaf Curling: Curling leaves may be a sign of stress from underwatering, pests, or temperature fluctuations. Check for pests, and adjust watering practices if necessary.
- Brown Tips: Brown leaf tips can be caused by inconsistent watering or low humidity. Make sure the soil is evenly moist, and consider misting the plant if growing indoors.
10. Winter Care and Overwintering
If you live in a region with cold winters, you’ll need to overwinter your bay leaf plant indoors. To help it thrive indoors:
- Place the container in a bright, sunny window.
- Reduce watering and avoid fertilizing during winter.
- Keep the indoor temperature between 55-70°F (13-21°C).
FAQs
Bay leaf trees will eventually outgrow their pots. Repot every 2-3 years or when the roots become crowded. Be sure to move it to a slightly larger pot to allow room for growth.
Yes, bay leaf plants can be grown indoors, but they will need a sunny spot and may require some additional care. If indoors, ensure the temperature doesn’t drop below 50°F (10°C). In winter, consider using grow lights if natural sunlight is insufficient.
Yes, you can harvest leaves once the plant has become established. Only take a few leaves at a time to avoid stressing the plant. You can use fresh leaves or dry them for later use.
Sign up to get our FREE weekly emails
Gardening guides, tips, & videos delivered right to your inbox!