Growing Ashwagandha in pots offers several benefits, especially for those with limited garden space or living in urban environments. As a hardy and adaptable medicinal plant, it thrives in containers, making it accessible for anyone with a balcony, patio, or small yard.
Pot cultivation allows you to control soil quality and drainage, ensuring optimal conditions for healthy root development, which is the primary source of its medicinal value. Additionally, pots make it easier to manage pests and diseases, as the contained environment reduces exposure to potential threats. Growing Ashwagandha in pots also means it can be moved indoors or to sheltered areas during extreme weather, protecting the plant from frost or excessive rain.
For those interested in herbal remedies, cultivating Ashwagandha in pots ensures a personal supply of this powerful adaptogen, known for its stress-relieving and immune-boosting properties. Having the plant nearby fosters a closer connection to its growth cycle and the opportunity to harvest roots for homemade tinctures, teas, or powders.
The plant’s low maintenance requirements make it ideal for beginners or busy individuals, requiring minimal watering and thriving in sandy, well-drained soil. Additionally, growing Ashwagandha in pots adds greenery to living spaces, enhancing aesthetics and contributing to a calming environment, perfectly aligning with the plant’s therapeutic essence.
Growing Ashwagandha in a Pot

Ashwagandha (Withania somnifera), also known as Indian ginseng or winter cherry, is a medicinal herb prized for its adaptogenic properties. It’s easy to grow in pots, even for beginners, provided the right conditions are met. Here’s a step-by-step guide to help you grow this wonderful plant successfully in containers.
1. Understanding Ashwagandha
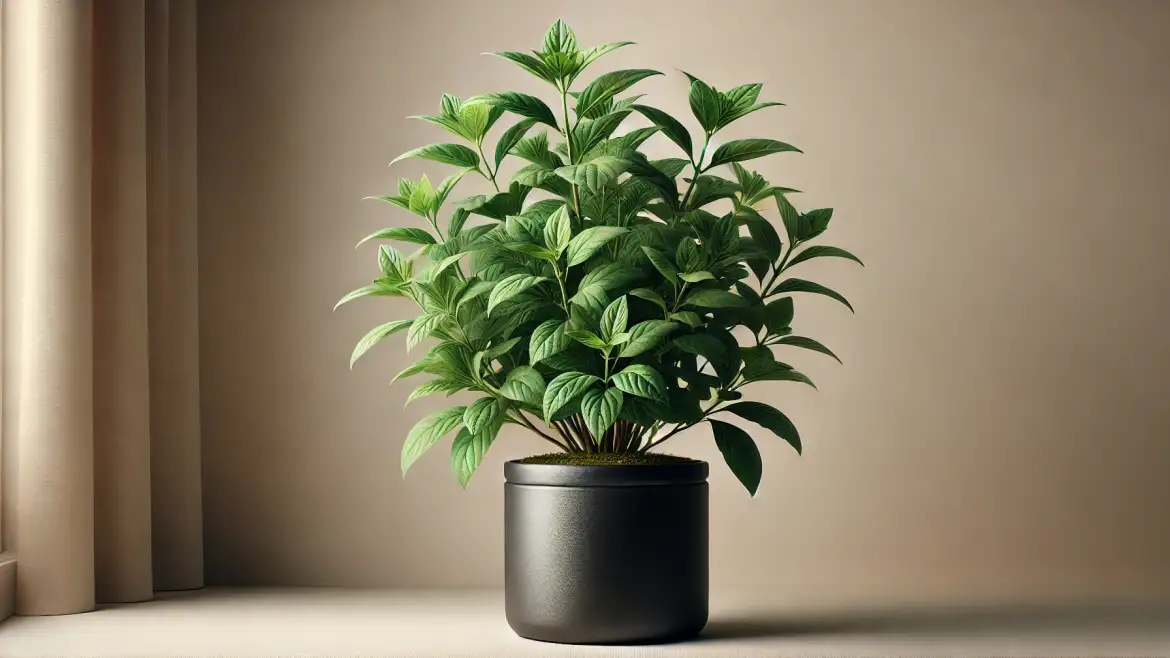
- Plant Characteristics: Ashwagandha is a hardy perennial herb with small, green flowers and red berries. It thrives in warm climates and requires minimal care once established.
- Uses: Its roots and berries are used in traditional medicine for reducing stress, improving energy, and boosting immunity.
2. Preparing to Grow Ashwagandha in Pots
a. Choosing the Right Pot
- Size: Use a pot that is at least 12 inches deep and 10-12 inches wide to allow enough room for root development.
- Material: Terracotta or clay pots are ideal as they offer good aeration and drainage.
- Drainage: Ensure the pot has drainage holes to prevent waterlogging.
b. Selecting Soil
- Type: Sandy, well-draining soil with a neutral to slightly alkaline pH (7.0–8.0) is ideal.
- Amendments: Mix garden soil with sand and compost in a 2:1:1 ratio for optimal growth.
c. Obtaining Seeds or Saplings
- Seeds: Purchase quality Ashwagandha seeds from a reliable source.
- Saplings: Alternatively, buy a young plant if you want quicker results.
3. Planting Ashwagandha
a. Sowing Seeds
- Timing: Plant seeds in spring when the temperature is between 20-30°C (68-86°F).
- Preparation: Soak seeds in water for 12 hours to improve germination.
- Sowing: Fill the pot with prepared soil and sow the seeds about 1 inch deep. Space seeds at least 3 inches apart.
- Watering: Lightly water the soil to keep it moist but not soggy.
b. Transplanting Saplings
- Dig a hole in the center of the pot, large enough for the sapling’s root ball.
- Place the sapling in the hole and backfill with soil, gently pressing it down.
- Water thoroughly after planting.
4. Caring for Ashwagandha
a. Watering
- Ashwagandha is drought-tolerant and prefers slightly dry conditions.
- Water once a week or when the top 1-2 inches of soil feel dry. Avoid overwatering.
b. Sunlight
- Place the pot in a location that receives 6-8 hours of direct sunlight daily.
- Ashwagandha thrives in warm, sunny environments.
c. Fertilizing
- Use organic compost or a balanced fertilizer once every 4-6 weeks during the growing season.
- Avoid excessive nitrogen fertilizers, which can promote leaf growth at the expense of roots.
d. Pruning
- Trim dead or yellowing leaves to encourage healthy growth.
- Light pruning helps maintain the plant’s shape and prevents overcrowding.
e. Pests and Diseases
- Common Pests: Aphids and whiteflies. Use neem oil spray to deter pests.
- Diseases: Root rot due to overwatering. Ensure proper drainage to avoid this issue.
5. Harvesting Ashwagandha
- Roots: Ready for harvest 5-6 months after planting, once the plant matures and the leaves start to dry.
- Uproot the plant gently and wash the roots thoroughly.
- Berries: Can be harvested once they turn red. These contain seeds for replanting.
6. Tips for Success
- Climate: Ashwagandha prefers warm, arid climates and struggles in humid or overly wet conditions.
- Companion Planting: Avoid planting Ashwagandha with water-loving plants, as they have conflicting water needs.
- Winter Care: If you live in a colder climate, bring the pot indoors or place it in a greenhouse during winter.
7. Storing Ashwagandha
- Roots: Dry the harvested roots in a shaded, well-ventilated area for 10-15 days. Store them in an airtight container.
- Seeds: Extract seeds from dried berries and store them in a cool, dry place for future planting.
Conclusion
Growing Ashwagandha in pots is a rewarding experience that requires minimal effort once the plant is established. With proper care, you can enjoy its medicinal benefits and ensure a sustainable source of this powerful herb right at home. Whether you’re a gardening enthusiast or new to container gardening, this guide will help you cultivate a thriving Ashwagandha plant.

FAQs
Yes, Ashwagandha can be grown in pots, provided the pot is at least 12–18 inches deep and wide to allow proper root development.
Water Ashwagandha sparingly. Allow the soil to dry out between waterings, as the plant is drought-tolerant and does not thrive in waterlogged conditions.
Ashwagandha is propagated through seeds. Sow the seeds directly in the pot, about 1/4 inch deep, during spring or early summer for the best germination.
Sign up to get our FREE weekly emails
Gardening guides, tips, & videos delivered right to your inbox!


