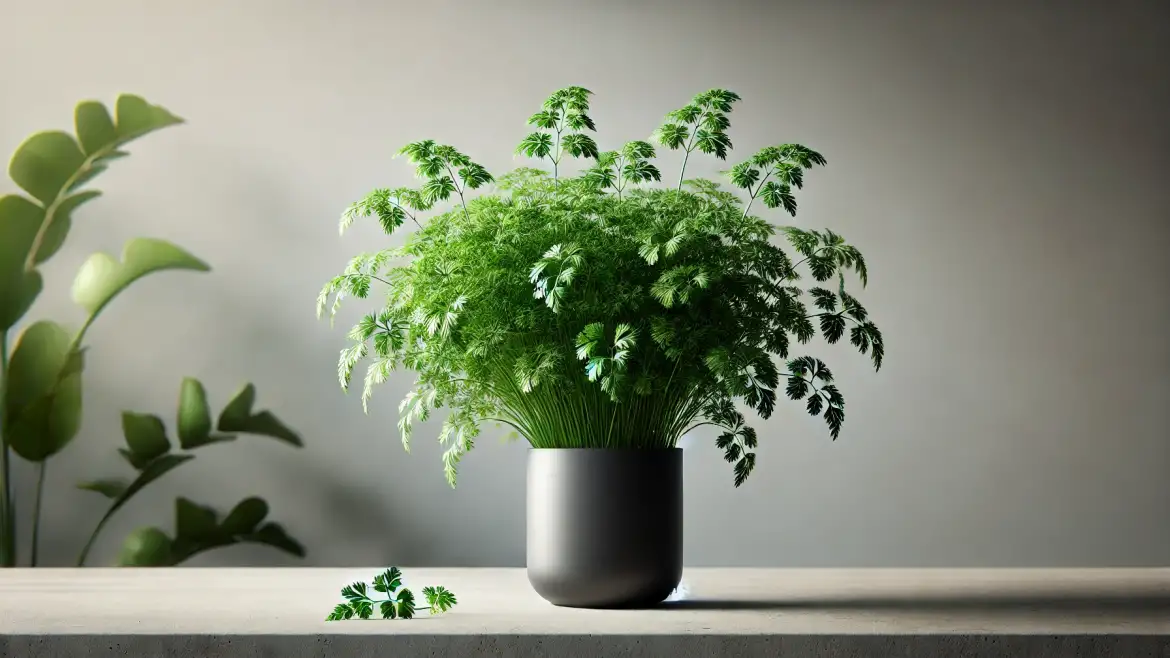
Growing chervil in pots offers several benefits, particularly for those with limited garden space or who wish to maintain a convenient herb garden. Chervil thrives in containers, allowing gardeners to control soil quality and moisture levels more effectively than in the ground. Its compact growth makes it ideal for small spaces such as balconies, patios, or kitchen windowsills.
By growing it in pots, you can ensure it gets the partial shade it prefers, as pots are easy to relocate to adjust to changing sunlight conditions. This mobility is especially useful in protecting the plant from extreme weather, ensuring a consistent and healthy harvest.
Another key advantage is the accessibility and freshness of having chervil close at hand for culinary use. Pots can be placed near the kitchen, making it effortless to harvest this delicate herb whenever needed, ensuring maximum flavor and aroma. Moreover, growing chervil in pots helps minimize pest issues that can be more prevalent in garden beds.
Containers provide better drainage, reducing the risk of root rot, and allow for precise fertilization, which supports the plant’s growth. As an added benefit, chervil’s feathery foliage and small white flowers can enhance the aesthetic appeal of any space, doubling as both a functional and decorative addition to your home or garden.
Growing Chervil in a Pot
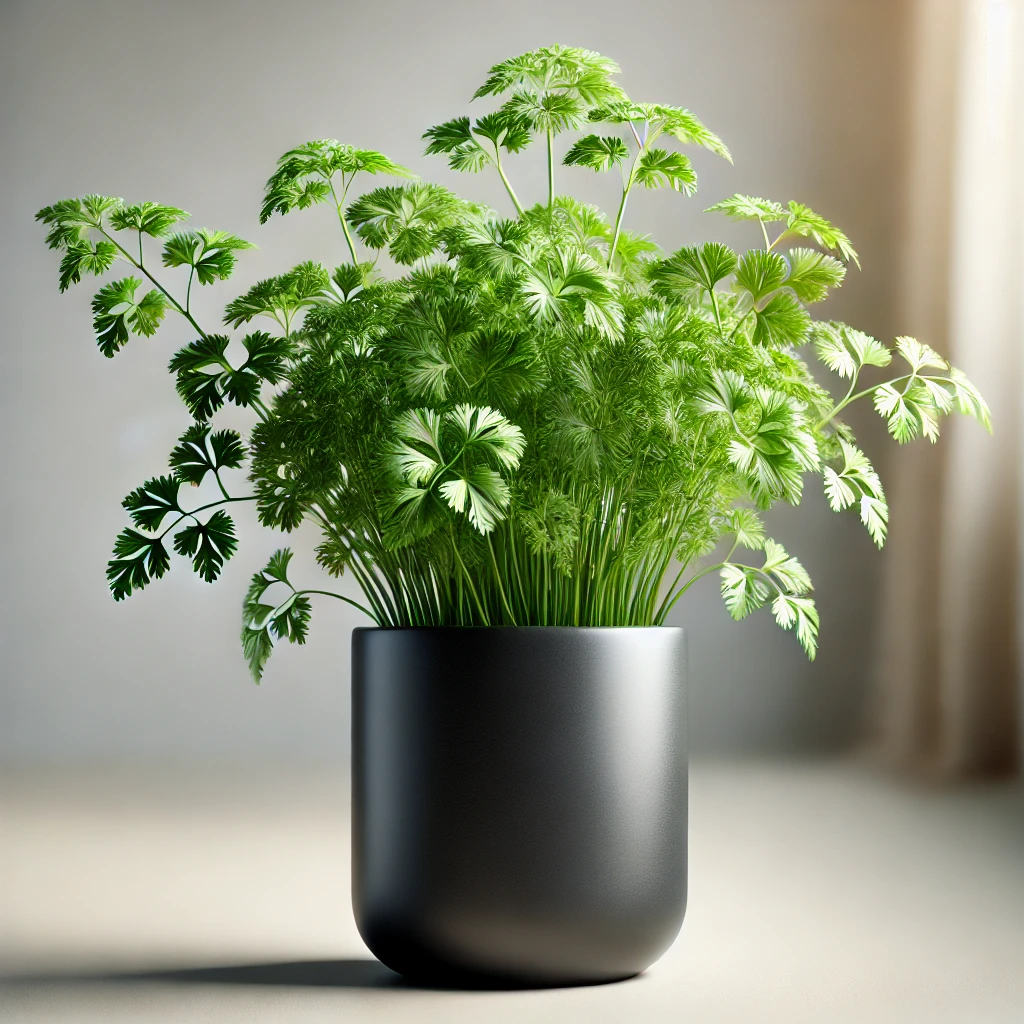
Chervil (Anthriscus cerefolium), a delicate and aromatic herb, is a staple in French cuisine and a favorite among gardeners. Growing chervil in pots is an excellent option for those with limited space or for gardeners who want to keep their herbs easily accessible. Here is a comprehensive guide to growing chervil in pots.
What You Will Need
- Container: Choose a pot that is at least 6-8 inches deep with drainage holes. Terracotta, ceramic, or plastic pots all work well.
- Potting Mix: Use a light, well-draining potting mix rich in organic matter. A mix with compost or aged manure is ideal.
- Chervil Seeds: Obtain fresh seeds, as chervil seeds have a short viability period.
- Location: A spot with partial shade to indirect sunlight.
- Watering Can: For regular and gentle watering.
- Optional: A liquid fertilizer for boosting growth during the growing season.
Step-by-Step Guide
1. Preparing the Pot
- Fill the pot with the potting mix, leaving about an inch of space below the rim to prevent overflow during watering.
- Ensure good drainage by adding a layer of small stones or broken pottery at the bottom of the pot.
2. Planting the Seeds
- Sow the chervil seeds thinly over the surface of the soil. Cover lightly with about ½ inch of potting mix, as the seeds need some light to germinate.
- Water gently to moisten the soil without washing away the seeds.
3. Positioning the Pot
- Place the pot in a location that receives partial shade. Chervil prefers cooler temperatures and indirect sunlight.
- Avoid spots with intense, direct sunlight as this can cause the plant to bolt prematurely.
4. Watering
- Keep the soil consistently moist but not waterlogged. Check the soil daily and water whenever the top inch feels dry.
- Ensure excess water drains out to prevent root rot.
5. Fertilizing
- Chervil is not a heavy feeder, but you can use a diluted liquid fertilizer (e.g., fish emulsion or seaweed extract) once a month during the growing season.
6. Thinning and Transplanting
- Once the seedlings reach about 2 inches in height, thin them out to provide adequate space for growth. Aim for about 4-6 inches between plants.
Care and Maintenance
1. Pest Management
- Common pests include aphids and slugs. Use neem oil or introduce beneficial insects like ladybugs for aphid control. Handpick slugs if needed.
- Keep the area around the pot clean to discourage pests.
2. Pruning
- Regularly harvest leaves to encourage new growth and prevent the plant from flowering too quickly.
- Remove any yellow or wilted leaves to maintain plant health.
3. Preventing Bolting
- Chervil tends to bolt in warm conditions. Move the pot to a cooler, shaded location if temperatures rise.
Harvesting Chervil
- Begin harvesting leaves when the plant reaches about 6 inches in height. Cut outer leaves first, allowing the inner leaves to continue growing.
- Use scissors to avoid damaging the plant. Harvest regularly to keep the plant productive.
- For the best flavor, harvest in the morning when the oils are most concentrated.
Troubleshooting Common Issues
1. Bolting
- Cause: Warm temperatures or too much direct sunlight.
- Solution: Move the pot to a cooler, shaded location and keep the soil consistently moist.
2. Yellow Leaves
- Cause: Overwatering or nutrient deficiency.
- Solution: Adjust watering practices and apply a balanced fertilizer.
3. Poor Germination
- Cause: Old seeds or improper planting depth.
- Solution: Use fresh seeds and plant at the recommended depth.
Enjoying Your Chervil
Chervil is a versatile herb that pairs well with eggs, fish, and salads. Use fresh leaves for the best flavor, as dried chervil loses its delicate aroma. With proper care, your potted chervil plant can provide you with a steady supply of this delightful herb for months.
FAQs
Yes, chervil grows well in pots. Its shallow roots make it an excellent choice for container gardening, as long as the pot has proper drainage.
Keep the soil consistently moist but not waterlogged. Water when the top inch of soil feels dry to the touch.
Yes, chervil can be grown indoors as long as it receives enough light. Place it near a bright window or use a grow light to provide 6-8 hours of indirect sunlight daily.
In mild climates or indoors, chervil can be grown year-round. Outdoors, it prefers cooler seasons like spring and fall.
Sign up to get our FREE weekly emails
Gardening guides, tips, & videos delivered right to your inbox!


