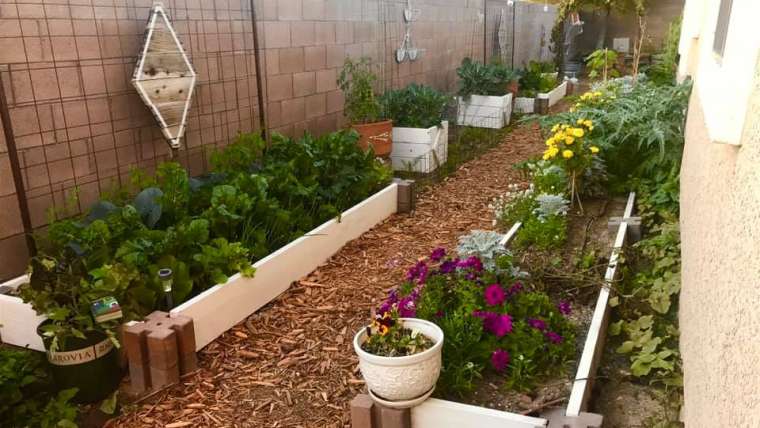
Testing the soil pH in your garden is crucial because it influences how well plants can absorb nutrients, ensuring healthy growth.
By knowing your soil’s pH, you can make necessary adjustments to create an optimal environment for your plants.
When to Test Soil pH

Testing soil pH is crucial for understanding the acidity or alkalinity of your soil, which directly affects plant health and nutrient availability. Here’s when you should test soil pH:
- Before Planting: Test your soil pH before starting a new garden or planting crops. This gives you time to amend the soil if necessary.
- Annually: For established gardens, test the soil pH at least once a year, preferably in early spring before the growing season begins.
- When Issues Arise: If your plants show signs of nutrient deficiencies (yellowing leaves, poor growth, etc.), it might be due to improper soil pH, so test immediately.
- After Adding Amendments: If you’ve added lime, sulfur, or other pH-altering amendments, test the soil a few weeks after application to check the effect.
- Seasonal Changes: Soil pH can change due to environmental factors like rainfall or fertilization, so consider testing in late summer or fall to assess these changes.
How to Test Soil pH
Testing soil pH can be done using both DIY methods and more precise tools like pH test kits or meters. Here’s how you can test soil pH:
1. Using a pH Test Kit
- Materials Needed:
- Soil pH test kit (available at garden centers or online)
- Distilled water
- Clean container
- Steps:
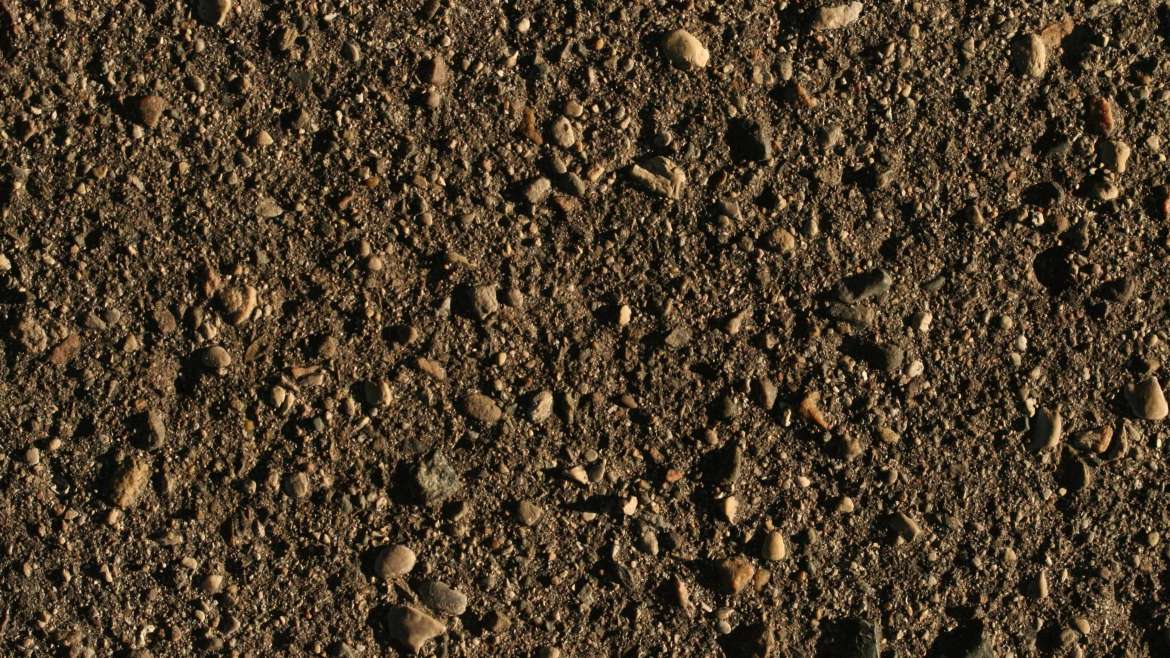
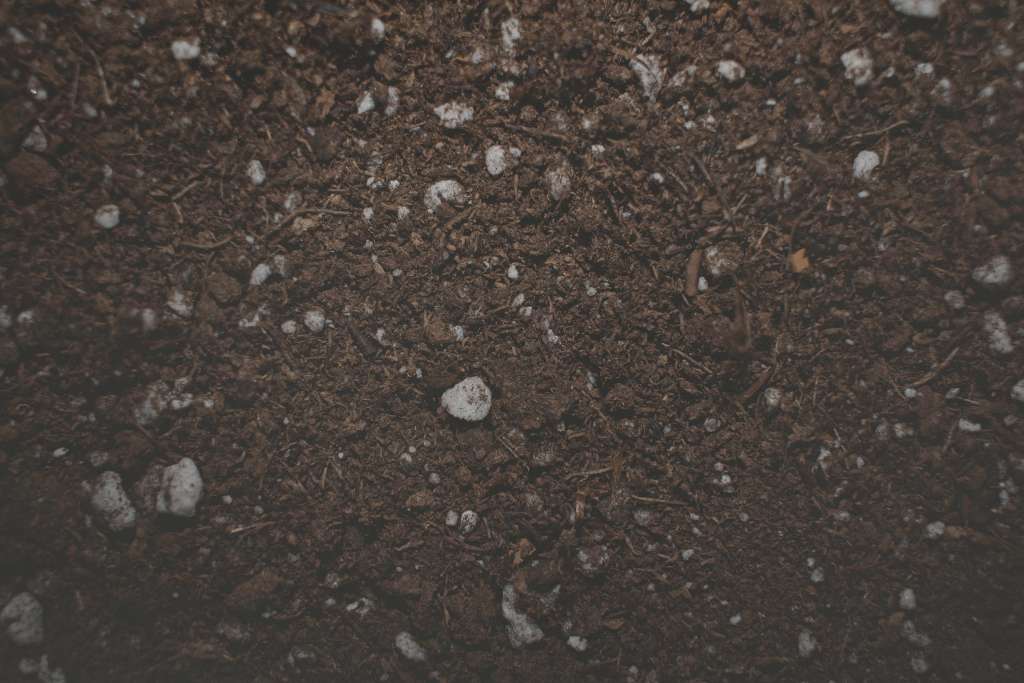
- Collect a small soil sample from about 4–6 inches below the surface. Take samples from different areas if testing a large plot.
- Remove debris like rocks and roots from the soil.
- Place the soil in a clean container.
- Add the provided indicator solution or powder from the kit to the soil.
- Add distilled water as directed (usually about equal parts to the soil).
- Shake or stir the mixture and let it settle.
- Compare the color of the solution with the pH scale provided in the kit.
2. Using a Digital pH Meter
- Materials Needed:
- Digital soil pH meter
- Distilled water
- Clean container
- Steps:
- Collect a soil sample as described above.
- Mix the soil with distilled water in a 1:1 or 1:2 ratio (soil to water).
- Stir the mixture and let it sit for 10–15 minutes.
- Insert the pH meter probe into the mixture, making sure it’s fully immersed in the water but not touching the bottom.
- Wait for the pH reading to stabilize and record the result.
3. Using pH Test Strips
- Materials Needed:
- pH test strips (litmus paper)
- Distilled water
- Clean container
- Steps:
- Mix a soil sample with distilled water to create a muddy solution.
- Dip the pH test strip into the mixture.
- Compare the color change on the strip to the pH scale provided with the strips.
4. DIY Methods (Less Precise)
- Using Red Cabbage:
- Boil red cabbage in distilled water and use the colored water as an indicator. Mix soil with this water and observe the color change (as described in a previous response).
- Using Baking Soda and Vinegar:
- Add vinegar to soil; if it fizzes, the soil is alkaline. Add baking soda to a wet soil sample; if it fizzes, the soil is acidic.
Tips for Accurate Results:
- Always use distilled water to avoid altering the pH of your soil sample.
- Take multiple samples from different areas of your garden or field to get an average pH.
- Clean tools and containers thoroughly before testing to prevent contamination.
These methods range from highly accurate (digital meters) to more general assessments (DIY methods), depending on your needs.
Sign up to get our FREE weekly emails
Gardening guides, tips, & videos delivered right to your inbox!