Growing watercress in containers offers a multitude of benefits, particularly for gardeners with limited space or those looking for a manageable way to cultivate this nutrient-rich green. Containers allow you to control the environment more effectively, providing the right balance of moisture and sunlight that watercress requires.
Since watercress thrives in damp conditions, growing it in a pot, tray, or bucket ensures that you can easily manage water levels without the risk of over-saturation or poor drainage that can occur in open soil. Additionally, containers minimize the risk of soil-borne diseases and pests, giving you healthier plants with less maintenance.
Another advantage of container gardening for watercress is its adaptability and convenience. Containers can be placed on patios, balconies, or windowsills, making them ideal for urban gardening or homes without traditional garden beds. You can also move the containers to adjust for optimal sunlight or protect the plants from extreme weather conditions. Harvesting becomes easier and cleaner, as the leaves are less likely to be contaminated by ground debris.
Moreover, growing watercress in containers ensures you have a fresh, year-round supply of this peppery superfood, packed with vitamins and minerals, right at your fingertips.
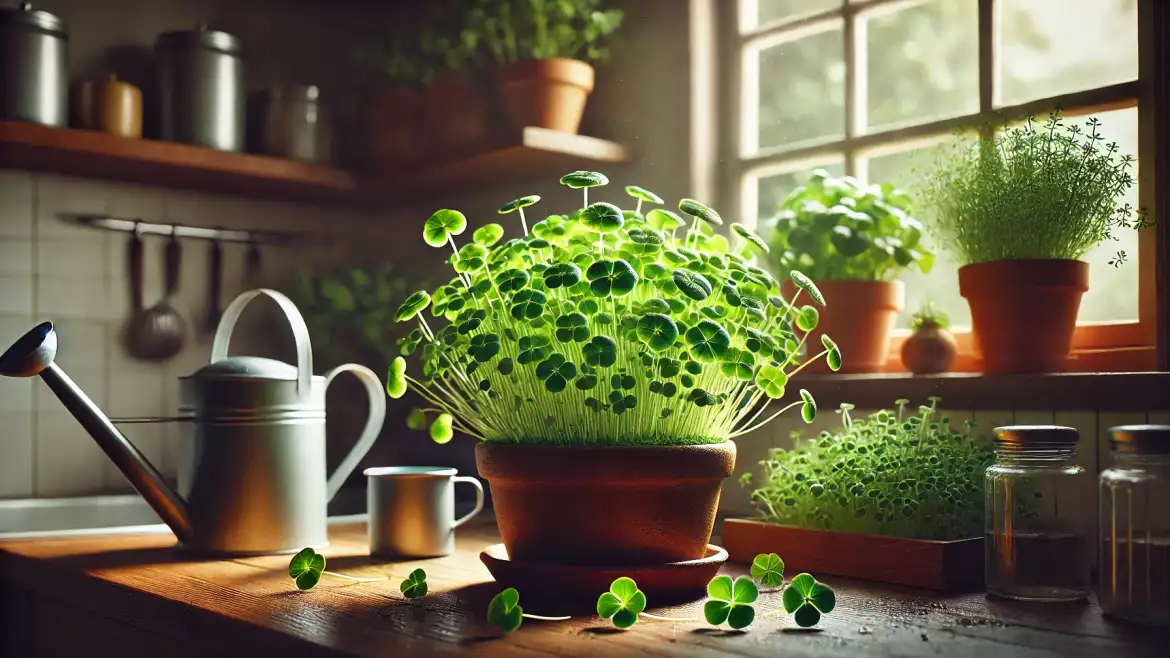
Growing Watercress in a Pot

Watercress (Nasturtium officinale) is a peppery, nutrient-rich leafy green that thrives in moist environments. Although it naturally grows in streams and rivers, you can successfully cultivate watercress in containers at home. This guide covers everything you need to know to grow healthy watercress in containers.
Why Grow Watercress in Containers?
- Space-saving: Ideal for urban gardens, patios, and balconies.
- Control: Manage water quality and prevent invasive spreading.
- Accessibility: Enjoy fresh watercress year-round, even without a garden.
- Health Benefits: Watercress is packed with vitamins A, C, and K, calcium, and antioxidants.
Materials Needed
- Container: A wide, shallow container (minimum 6-8 inches deep) with drainage holes. Options include:
- Plastic or ceramic pots
- Window boxes
- Hydroponic containers
- Potting Mix: A rich, loamy soil with good water retention.
- Water Source: Clean, non-chlorinated water (rainwater or distilled water is ideal).
- Seeds or Cuttings: Watercress seeds or cuttings from a fresh store-bought bunch.
- Tray or Saucer: To catch excess water and maintain moisture.
Step-by-Step Growing Process
1. Choosing the Container
Select a container that holds at least 1-2 gallons of water. Watercress prefers wide, shallow containers that provide ample room for roots to spread.
2. Preparing the Soil
- Use a rich, organic potting mix with a high moisture content.
- Fill the container about 3/4 full with soil.
- Moisten the soil until it’s evenly damp but not waterlogged.
3. Planting Seeds or Cuttings
Planting Seeds:
- Scatter watercress seeds evenly across the surface of the soil.
- Lightly cover with a thin layer of soil (about 1/4 inch).
- Mist the surface to keep seeds moist.
Planting Cuttings:
- Take fresh watercress cuttings, 4-6 inches long.
- Remove the lower leaves, leaving a few at the top.
- Insert the cuttings into the soil, spacing them 2-3 inches apart.
4. Watering and Maintaining Moisture
- Keep the soil consistently wet by placing the container in a tray filled with water.
- Change the water in the tray every few days to prevent stagnation.
- Water from above if necessary, ensuring the soil stays damp.
5. Light and Temperature
- Light: Watercress prefers partial shade or filtered sunlight. Aim for 4-6 hours of light daily.
- Temperature: Ideal temperatures are between 50°F and 75°F (10°C to 24°C). Watercress thrives in cooler conditions.
6. Fertilizing
- Watercress is a heavy feeder. Apply a diluted liquid fertilizer every 2-3 weeks.
- Use organic fertilizers like fish emulsion or seaweed extract.
7. Pruning and Harvesting
- Harvesting: When plants reach 4-6 inches tall, snip off the top few inches with scissors. Regular harvesting encourages new growth.
- Pruning: Trim back any flowers to prevent the plant from becoming bitter.
Common Issues and Solutions
1. Yellowing Leaves
- Cause: Nutrient deficiency or poor water quality.
- Solution: Fertilize regularly and use clean, non-chlorinated water.
2. Root Rot
- Cause: Water stagnation.
- Solution: Ensure water is changed frequently, and avoid waterlogging the soil.
3. Pests
- Aphids or Flea Beetles: Spray with a mild soap solution or neem oil.
4. Bolting
- Cause: High temperatures.
- Solution: Move the container to a cooler, shaded location.
Tips for Success
- Hydroponic Option: Watercress thrives in hydroponic systems with continuous water flow.
- Winter Care: Move containers indoors to protect them from frost.
- Companion Plants: Pair with moisture-loving herbs like mint.
FAQs
Yes, watercress grows well in pots, making it an excellent option for small spaces, patios, or indoor gardening. You just need to ensure the plant stays moist.
Watercress needs constant moisture. Check the soil daily and ensure it remains wet but not waterlogged. A shallow water tray beneath the pot helps maintain moisture.
You can grow watercress indoors near a sunny window or under grow lights to maintain a year-round harvest.
Sign up to get our FREE weekly emails
Gardening guides, tips, & videos delivered right to your inbox!