Growing mustard greens in containers offers several practical advantages, especially for those with limited garden space. Containers provide flexibility in placement, allowing gardeners to grow mustard greens on patios, balconies, or even windowsills. This makes it an ideal option for urban dwellers or anyone looking to maximize their gardening space.
Also, container gardening helps control soil quality and drainage, reducing the risk of pests and soil-borne diseases. The controlled environment also makes it easier to regulate moisture, preventing issues like waterlogging or drought stress that can hinder plant growth.
Another significant benefit is the ability to extend the growing season. Containers can be moved indoors or to sheltered spots during cold weather, protecting the plants from frost. Mustard greens thrive in cooler temperatures, and this adaptability ensures a steady supply of fresh, nutritious leaves.
Container-grown mustard greens are also easy to harvest, making them accessible for regular kitchen use. With minimal maintenance, they provide a reliable source of vitamins A, C, and K, antioxidants, and fiber, promoting healthy eating even in small living spaces.
Growing Mustard Greens in Pots
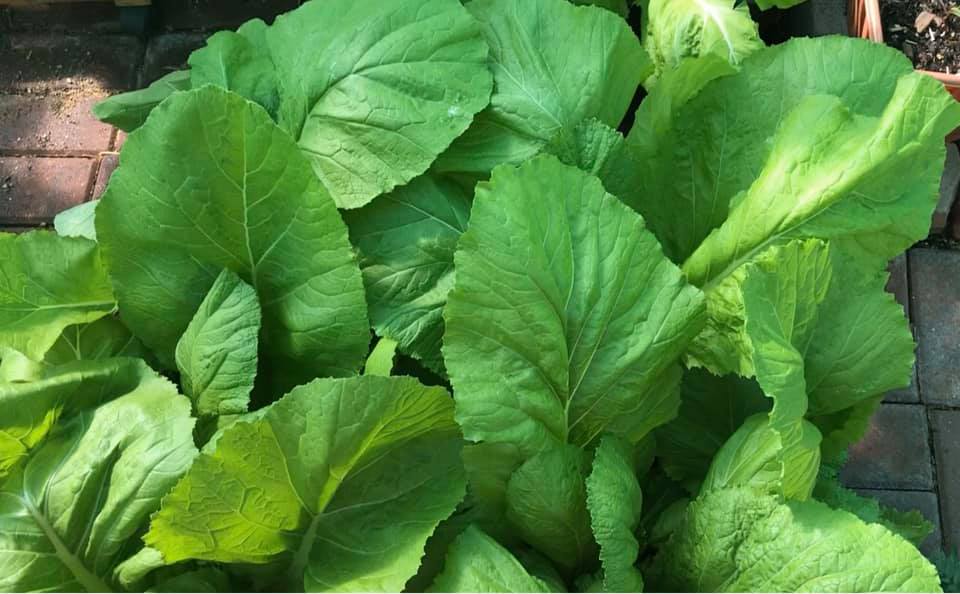
Here’s a comprehensive guide to help you successfully grow mustard greens in containers, whether you have a small balcony, patio, or windowsill. Mustard greens (Brassica juncea) are nutrient-dense, fast-growing leafy vegetables that thrive in containers and provide a continuous harvest of spicy, flavorful leaves.
What You’ll Need
- Seeds: Choose a mustard green variety such as:
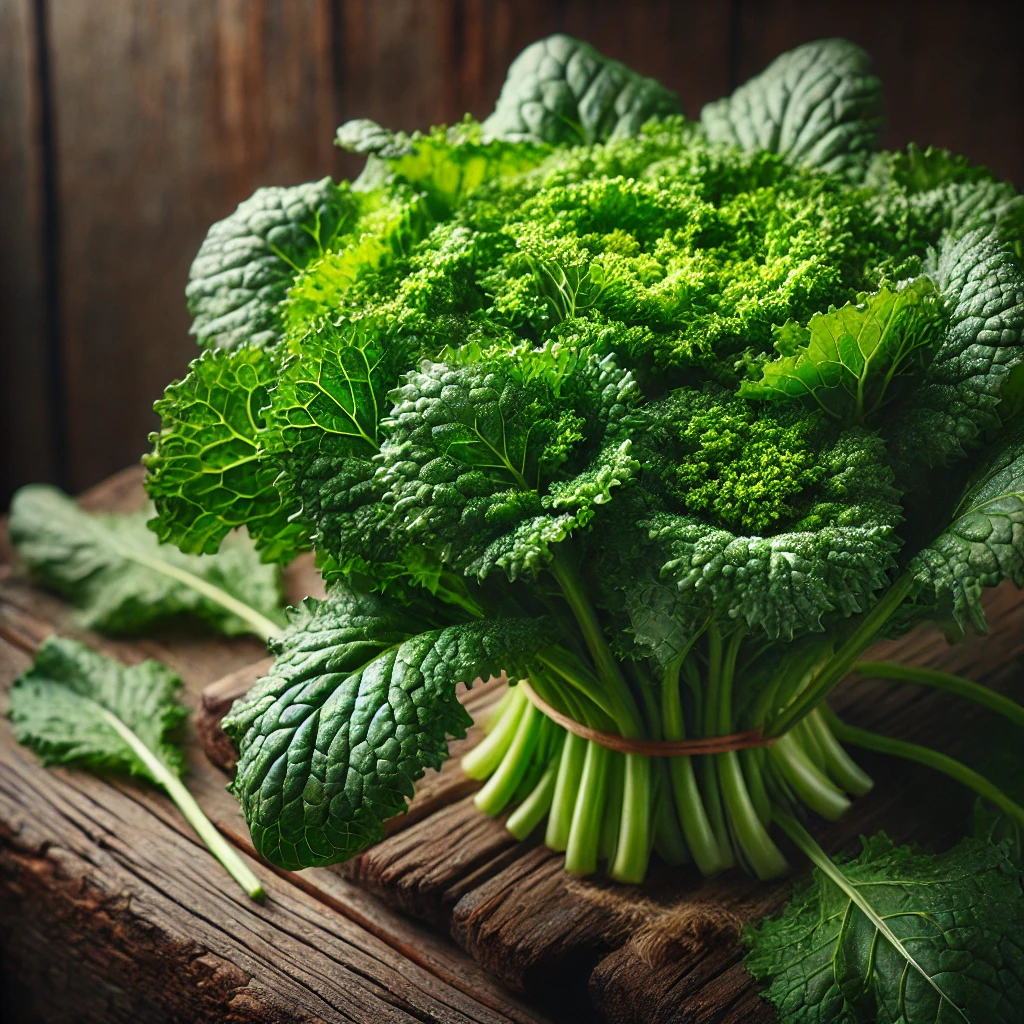
- Green Wave: Frilly, spicy leaves.
- Giant Red: Attractive purple-tinged leaves.
- Mizuna: Mild-flavored, deeply lobed leaves.
- Container:
- Size: At least 6-8 inches deep and 12-14 inches wide.
- Material: Terracotta, plastic, wood, or fabric grow bags.
- Drainage: Ensure the container has multiple drainage holes.
- Potting Mix:
- Type: A rich, well-draining potting mix.
- Optional: Add compost or aged manure for extra nutrients.
- Tools:
- Trowel
- Watering can or spray bottle
- Gardening gloves
Step-by-Step Guide
1. Preparing the Container
- Select a container with good drainage holes.
- Fill the container with potting mix, leaving about 1 inch from the rim.
- Mix in compost or slow-release fertilizer for nutrient enrichment.
2. Sowing the Seeds
- Timing:
- Best planted in early spring (4-6 weeks before the last frost) or late summer for a fall crop.
- Mustard greens grow well in temperatures between 45°F to 75°F (7°C to 24°C).
- Planting:
- Sprinkle seeds lightly over the soil surface.
- Spacing: Aim for 2-3 inches apart.
- Depth: Cover seeds with a thin layer (¼ inch) of soil.
- Water gently using a spray bottle or watering can to moisten the soil evenly.
3. Providing Optimal Conditions
- Light:
- Mustard greens need 4-6 hours of sunlight daily.
- If growing indoors, place the container near a sunny window or use grow lights.
- Temperature:
- Ideal temperature: 45°F to 75°F (7°C to 24°C).
- Mustard greens are somewhat frost-tolerant, but extreme heat can cause them to bolt (flower prematurely).
- Watering:
- Keep the soil consistently moist but not waterlogged.
- Water when the top 1 inch of soil feels dry.
- Containers dry out faster than ground soil, so check regularly.
- Fertilizing:
- Add a balanced, water-soluble fertilizer every 3-4 weeks or incorporate compost at planting.
4. Thinning Seedlings
- Once seedlings are 2-3 inches tall, thin them to maintain 4-6 inches apart.
- Use the thinned seedlings in salads as microgreens.
5. Maintaining Your Plants
- Mulching: Add a thin layer of mulch to retain moisture and suppress weeds.
- Pests:
- Common pests include aphids, flea beetles, and cabbage worms.
- Use insecticidal soap or neem oil to manage infestations.
- Floating row covers can prevent pest access.
- Bolting:
- Mustard greens can bolt in hot weather.
- Provide partial shade or move containers to a cooler spot during heat waves.
6. Harvesting
- Timeframe:
- Leaves are ready for harvest within 4-6 weeks of planting.
- How to Harvest:
- Baby Greens: Pick when 3-4 inches tall for tender leaves.
- Mature Greens: Cut outer leaves first, allowing the center leaves to continue growing.
- Avoid harvesting the whole plant unless you’re ready to replant.
- Continuous Harvest: Regular harvesting encourages new growth.
Storing and Using Mustard Greens
- Storage:
- Store fresh mustard greens in the refrigerator.
- Place them in a plastic bag with a damp paper towel to keep them fresh for up to 7 days.
- Culinary Uses:
- Raw: Add to salads for a peppery bite.
- Cooked: Sauté, steam, or add to soups and stir-fries.
- Pickled: Use for traditional Southern-style pickled greens.
Troubleshooting Common Issues
- Yellowing Leaves:
- Cause: Overwatering or nutrient deficiency.
- Solution: Improve drainage and fertilize appropriately.
- Bolting:
- Cause: High temperatures or stress.
- Solution: Provide shade and consistent watering.
- Pest Damage:
- Cause: Aphids or flea beetles.
- Solution: Use organic pest control methods like neem oil.
FAQs
Yes! Mustard greens are well-suited for container gardening. They have a relatively shallow root system and grow quickly.
Plant in early spring for a spring crop or in late summer/early fall for a fall crop. They grow best in temperatures between 50°F and 75°F (10°C and 24°C).
Yes, mustard greens can be grown indoors under grow lights or near a bright window. Ensure they receive at least 6 hours of light daily.
Yes, if you have the right conditions. In colder months, grow them indoors or in a greenhouse. In hot climates, provide shade and sufficient water during the summer.
Yes, they are cut-and-come-again plants. Harvest the outer leaves, and the center will continue to produce new growth.
Sign up to get our FREE weekly emails
Gardening guides, tips, & videos delivered right to your inbox!