Growing milk thistle in containers offers numerous benefits, particularly for those with limited space or variable climate conditions. Containers provide a controlled environment, making it easier to manage soil quality, water levels, and sunlight exposure. This adaptability ensures that the plant thrives even in urban settings, patios, or balconies.
Additionally, growing milk thistle in pots reduces the risk of invasive spreading, as this hardy plant can become aggressive in open garden beds. With its medicinal properties, cultivating milk thistle in containers allows individuals to conveniently harvest its seeds for home remedies, promoting liver health and detoxification.
Another advantage is the portability of container-grown plants, which is particularly useful for milk thistle in areas with harsh winters or unpredictable weather. Containers can be moved to sheltered locations to protect the plant or to ensure optimal sun exposure throughout the day.
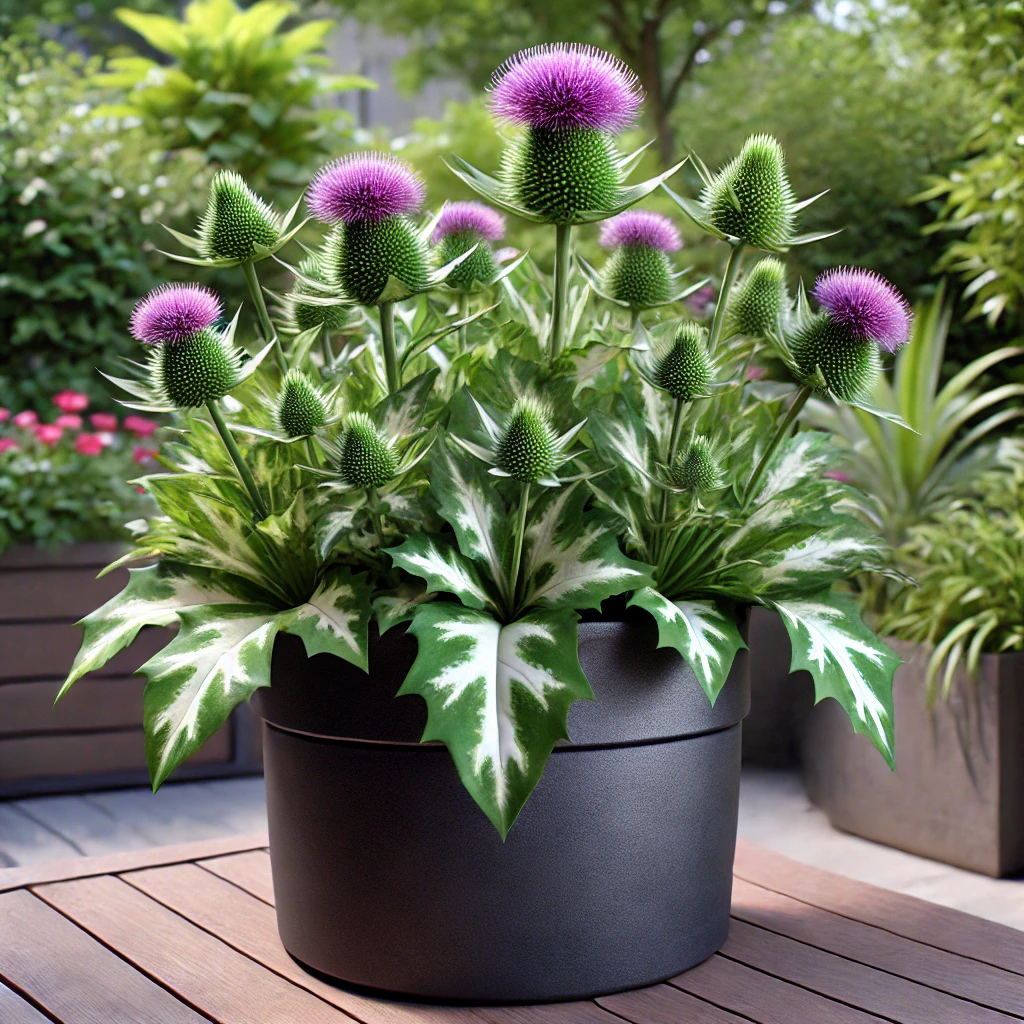
This mobility also enables growers to incorporate milk thistle into ornamental arrangements, as its striking purple flowers and spiny leaves make it a visually appealing addition to container gardens. Furthermore, growing milk thistle in pots helps minimize pest and weed interference, making it a practical choice for beginners and seasoned gardeners alike.
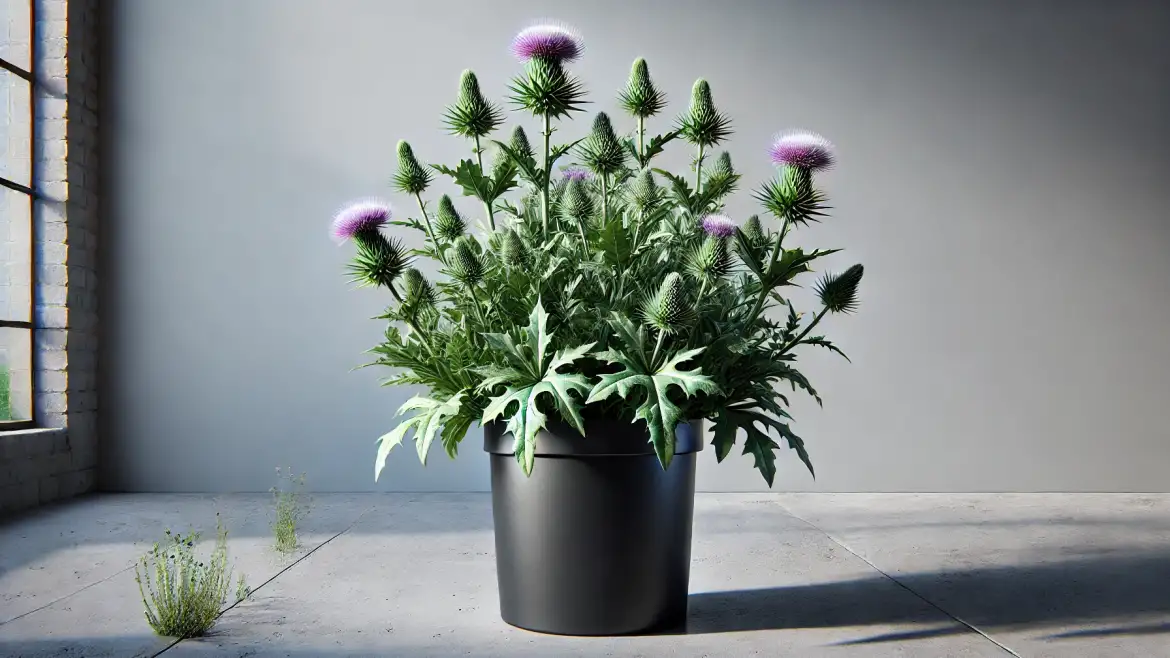
Growing Milk Thistle in Pots
Milk thistle (Silybum marianum) is a hardy, drought-resistant herbaceous plant known for its medicinal properties and striking appearance. Growing it in containers is an excellent option for gardeners with limited space or those wanting to control its invasive tendencies. Here’s a comprehensive guide:
1. Understanding Milk Thistle
- Botanical Name: Silybum marianum
- Plant Type: Annual or biennial herb
- Height: Up to 5 feet
- Sunlight Requirements: Full sun
- Soil Type: Well-draining, loamy or sandy soil
- USDA Hardiness Zones: 5–9
2. Materials Needed
- Containers (12–16 inches in diameter with drainage holes)
- Potting soil (preferably a mix for herbs or vegetables)
- Milk thistle seeds
- Watering can or spray bottle
- Organic fertilizer (optional)
- Gardening gloves
3. Choosing the Right Container
- Size: Milk thistle has a robust root system, so choose a container at least 12 inches deep and wide.
- Material: Terracotta, plastic, or wooden containers are suitable, but ensure they have adequate drainage to prevent waterlogging.
4. Preparing the Soil
- Use a well-draining potting mix. A combination of:
- 50% loamy or sandy soil
- 25% compost or organic matter
- 25% perlite or sand for drainage
5. Planting Milk Thistle
- Seed Selection: Purchase viable seeds from a trusted supplier.
- Pre-soaking (Optional): Soak the seeds in water for 6–8 hours to speed up germination.
- Planting Depth: Sow seeds 1/4 inch deep in the soil. Space multiple seeds at least 4 inches apart.
- Light and Placement: Place the container in a sunny location; milk thistle thrives in full sun.
- Watering: Water thoroughly after planting and keep the soil moist but not waterlogged.
6. Germination and Growth
- Germination Time: 7–14 days.
- Temperature: Ideal germination occurs between 65–75°F (18–24°C).
- Thinning: Once seedlings are 2–3 inches tall, thin them to maintain one or two strong plants per container.
7. Caring for Milk Thistle
Watering
- Water regularly during the growing season but allow the topsoil to dry slightly between waterings.
- Reduce watering in cooler months.
Fertilization
- Apply an organic fertilizer every 6–8 weeks if the soil lacks nutrients.
- Avoid over-fertilizing as milk thistle prefers slightly lean soil.
Pruning
- Trim back dead or damaged leaves to encourage healthy growth and maintain appearance.
Pests and Diseases
- Milk thistle is resistant to most pests but may occasionally face aphid infestations. Use neem oil or insecticidal soap if necessary.
- Prevent fungal diseases by ensuring good air circulation and avoiding overwatering.
8. Harvesting Milk Thistle
Leaves
- Harvest young leaves for culinary use or medicinal purposes when they are tender.
- Use gloves to handle leaves as they are spiny.
Seeds
- Seeds are ready to harvest when the flower heads turn brown and dry.
- Cut the heads, place them in a paper bag, and allow them to dry fully.
- Separate seeds from the chaff by shaking the bag and sifting.
9. Overwintering
- In colder climates, bring the container indoors to protect the plant from frost.
- Place it near a sunny window and reduce watering frequency.
10. Potential Challenges
- Invasiveness: Milk thistle self-seeds readily, so growing it in containers helps prevent spreading.
- Spiny Leaves: Handle with care to avoid injury.
11. Uses of Milk Thistle
- Medicinal: Seeds are commonly used in herbal remedies to support liver health.
- Culinary: Leaves and seeds can be used in salads or teas.
- Ornamental: Its striking purple flowers make it a beautiful addition to any container garden.
Conclusion
Milk thistle is a low-maintenance and rewarding herb to grow in containers. With the right care, it can thrive and provide both medicinal benefits and aesthetic appeal. Follow these steps, and enjoy the beauty and usefulness of milk thistle right from your patio, balcony, or backyard!
FAQs
Yes, milk thistle can thrive in containers as long as the pot is large enough to accommodate its deep taproot and the soil is well-draining.
Water the plant when the top inch of soil feels dry. Avoid overwatering, as milk thistle is drought-tolerant once established.
In colder climates, bring the container indoors or place it in a sheltered location to protect the plant from frost.
Yes, milk thistle is relatively low-maintenance. Prune dead leaves and flowers to encourage growth and prevent self-seeding.
Absolutely! Allow the flowers to mature and dry on the plant before collecting seeds for medicinal use or replanting.
Sign up to get our FREE weekly emails
Gardening guides, tips, & videos delivered right to your inbox!