Growing marjoram in pots offers several benefits, making it an excellent choice for gardeners of all skill levels. One of the key advantages is its accessibility and ease of care. Potted marjoram can be placed on patios, balconies, or kitchen windowsills, allowing gardeners to cultivate this aromatic herb even in small spaces or urban settings.
The controlled environment of a pot also helps manage soil quality, ensuring proper drainage and reducing the risk of root rot or other soil-borne issues. Additionally, pots can be moved to optimize sunlight exposure, ensuring the plant receives the 6-8 hours of sunlight it thrives on. This flexibility is especially useful in areas with varying light conditions or during seasonal changes.
Another significant benefit of growing marjoram in pots is the convenience it provides for culinary and medicinal uses. Having fresh marjoram readily available allows for quick access to its flavorful leaves, enhancing dishes like soups, sauces, and salads. Its proximity also encourages regular harvesting, which helps the plant maintain a healthy growth cycle.
Furthermore, marjoram’s mild, sweet scent and its ability to repel pests naturally make it a practical and pleasant addition to indoor or outdoor spaces. By growing it in pots, gardeners can enjoy its many uses without worrying about it spreading uncontrollably in a garden bed. This containment ensures a tidy, manageable herb garden, perfect for beginners and experienced gardeners alike.
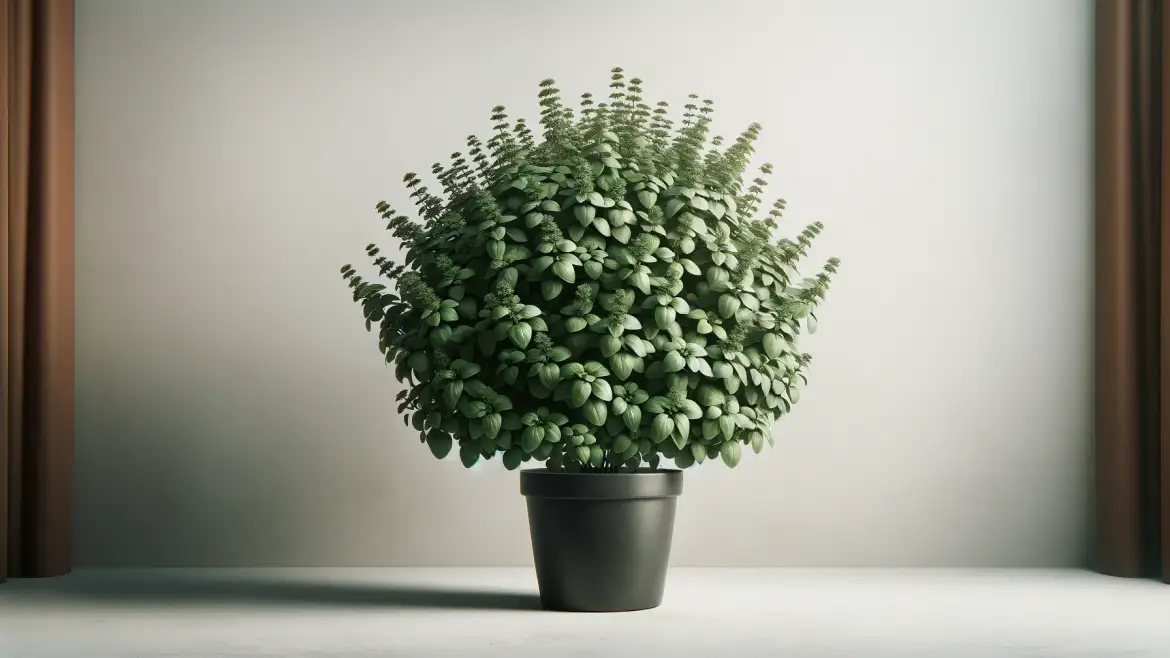
Growing Marjoram in a Pot

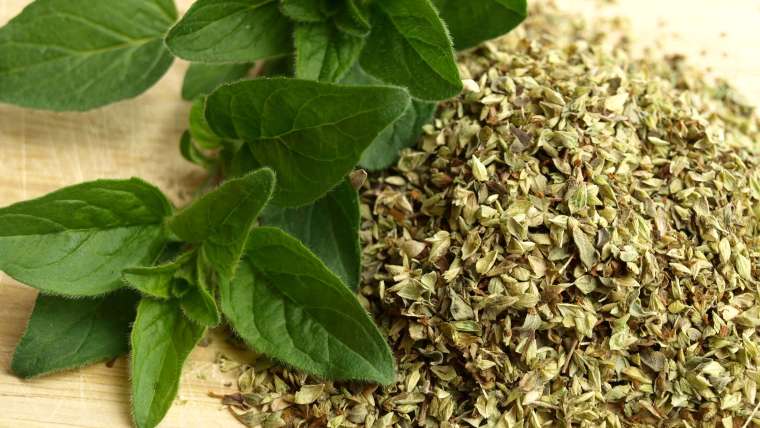
Marjoram (Origanum majorana) is a fragrant, herbaceous plant often used in culinary dishes for its mild, sweet flavor. Growing marjoram in pots is ideal for gardeners with limited space, as it thrives indoors and outdoors. Follow this guide to cultivate healthy and productive marjoram plants in pots.
1. Choosing the Right Pot
- Size: Select a pot that is at least 6–8 inches in diameter and has a depth of 8–10 inches. This allows sufficient room for root growth.
- Material: Terracotta pots are ideal as they promote good airflow and drainage, but plastic or ceramic pots also work well.
- Drainage: Ensure the pot has drainage holes to prevent waterlogging, which can lead to root rot.
2. Selecting the Soil
- Type: Use well-draining soil, such as a mix of potting soil and sand, or a pre-mixed cactus soil.
- pH Level: Aim for a neutral to slightly alkaline pH (6.5–7.5).
- Enrichment: Mix in organic compost or a balanced fertilizer to enhance the soil’s nutrient content.
3. Planting Marjoram
- Seeds:
- Sow seeds thinly on the surface of the soil and cover with a thin layer of soil.
- Mist the surface with water to keep it moist but not soggy.
- Seeds germinate in 7–14 days at a temperature of 65–70°F (18–21°C).
- Seedlings or Cuttings:
- Transplant seedlings when they have at least 4–6 true leaves.
- For cuttings, dip the end in rooting hormone and plant directly in moist soil.
4. Sunlight Requirements
- Place the pot in a location that receives 6–8 hours of direct sunlight daily. A south-facing window, balcony, or patio is ideal.
- If growing indoors, use a grow light to supplement natural sunlight.
5. Watering
- Water moderately, ensuring the top inch of soil is dry before watering again.
- Avoid overwatering; marjoram is drought-tolerant and prefers slightly dry conditions.
6. Fertilizing
- Fertilize every 4–6 weeks with a balanced, water-soluble fertilizer diluted to half strength.
- Avoid over-fertilizing, as excessive nutrients can diminish the flavor of the leaves.
7. Pruning and Maintenance
- Pruning: Regularly pinch back the tips of the plant to encourage bushier growth and prevent flowering (which can make the leaves bitter).
- Weeding: Remove any weeds or competing plants in the pot to ensure marjoram gets all the nutrients.
8. Pest and Disease Management
- Common Pests: Watch out for aphids, spider mites, and whiteflies. Use insecticidal soap or neem oil as a natural remedy.
- Diseases: Avoid fungal diseases by ensuring proper drainage and avoiding overhead watering.
9. Harvesting Marjoram
- Begin harvesting leaves once the plant is 4–6 inches tall.
- For the best flavor, harvest in the morning before the sun fully rises, as the essential oils are most concentrated then.
- Use scissors or pruning shears to snip the stems, leaving at least 1–2 inches for regrowth.
10. Overwintering Marjoram
- Indoor Transition: If you live in a region with frost, bring your potted marjoram indoors during winter.
- Place it in a sunny window or under grow lights to maintain growth.
- Reduce watering during the dormant period but ensure the soil does not dry out completely.
11. Propagation
- Marjoram can be propagated through seeds, cuttings, or division.
- Cuttings are the fastest method: snip 4–6 inch stems, remove lower leaves, and plant in moist soil or water until roots form.
Troubleshooting Tips
- Yellowing Leaves: May indicate overwatering or nutrient deficiency. Check soil drainage and adjust fertilization.
- Leggy Growth: Occurs due to insufficient sunlight. Move the pot to a brighter location or provide additional light.
With proper care, marjoram can thrive in pots, providing a steady supply of fresh, aromatic leaves for your kitchen or wellness needs. Happy gardening!
FAQs
Yes, marjoram grows very well in pots. Its compact size makes it ideal for container gardening.
Water marjoram when the top inch of soil feels dry. Avoid overwatering, as the plant is sensitive to waterlogged soil. During hotter months, you may need to water more frequently.
Yes, marjoram can grow indoors if placed in a sunny location or under grow lights. Ensure it gets adequate light and proper air circulation.
Yes, marjoram can be overwintered indoors. Move the pot to a bright, frost-free location and reduce watering during the dormant period.
Sign up to get our FREE weekly emails
Gardening guides, tips, & videos delivered right to your inbox!