Growing hollyhocks in pots offers several benefits, especially for gardeners with limited space or challenging soil conditions. Containers allow for greater control over the growing environment, including soil type, drainage, and exposure to sunlight. This flexibility makes it easier to create the ideal conditions for hollyhocks, which thrive in well-drained, nutrient-rich soil.
Pots can also be moved to protect the plants from harsh weather, ensuring consistent growth and vibrant blooms. Additionally, container gardening reduces the risk of pests and diseases common in garden soil, helping hollyhocks stay healthy and flourish.
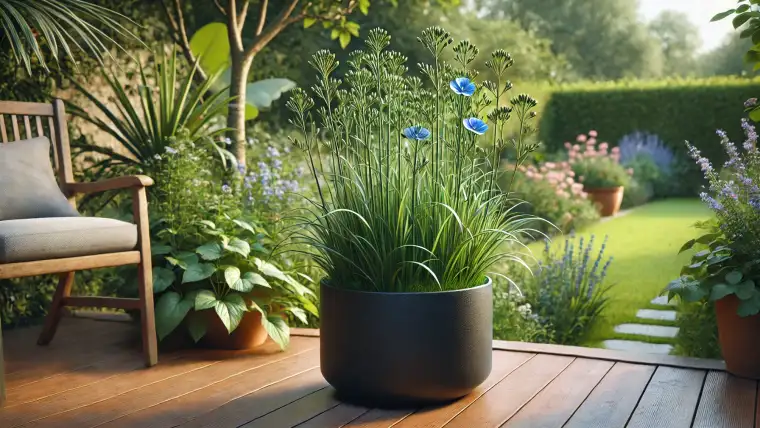
Potted hollyhocks also add versatility and charm to gardens, patios, and balconies. Their tall, striking blooms make them a perfect focal point or backdrop in container arrangements. Growing them in pots allows gardeners to experiment with different color combinations and companion plants, creating unique, mobile displays.
Furthermore, pots make it easier to manage hollyhocks as biennials or perennials, as they can be relocated to less visible areas after blooming to focus on their next growth cycle. This approach enhances the aesthetic appeal of your space while accommodating the hollyhock’s natural growth habits.
Growing Hollyhocks in a Pot

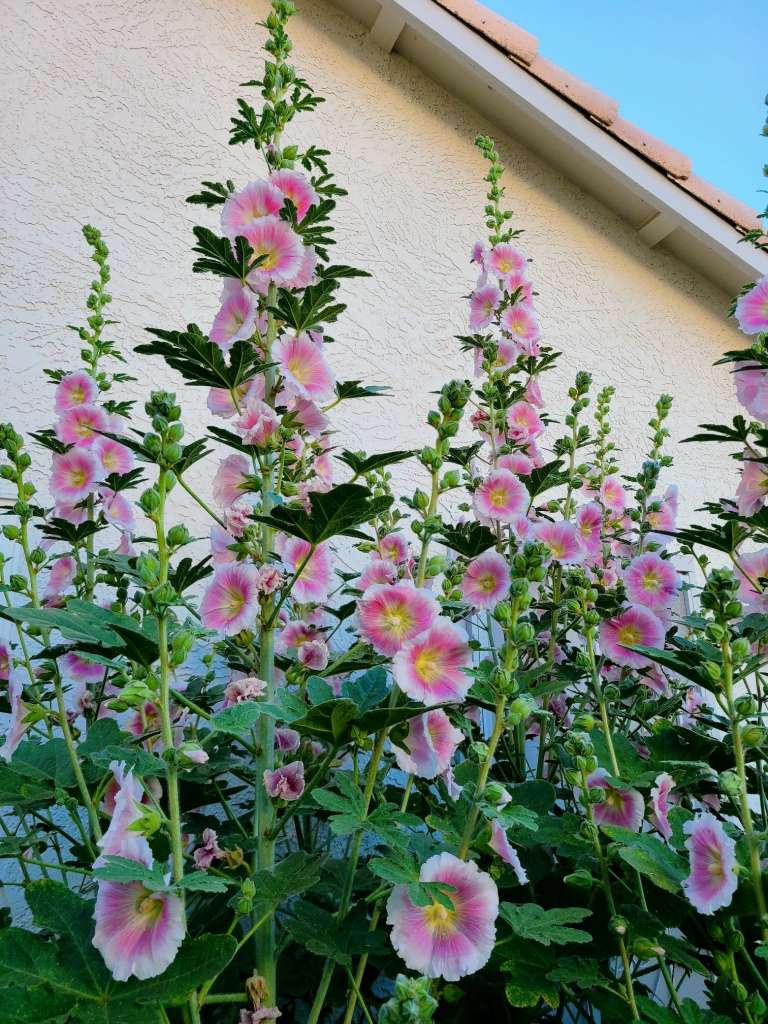
Hollyhocks (Alcea rosea) are iconic cottage garden plants known for their tall, colorful flower spikes. Growing hollyhocks in pots can be an excellent solution if you’re short on garden space or want to add a vertical accent to patios and balconies. Below is our guide on how to grow hollyhocks in pots.
1. Choosing the Right Hollyhocks
Hollyhocks come in various colors, heights, and forms. For pots, consider dwarf or semi-dwarf varieties such as:
- ‘Majorette’ series: Compact and well-suited for containers.
- ‘Queeny’ series: Double flowers and shorter growth.
Tall varieties can also be grown but may require larger pots and more staking.
2. Selecting the Right Pot
Hollyhocks have long taproots, so deep pots are essential. Consider the following:
- Depth: At least 12-18 inches (30-45 cm).
- Diameter: 12-14 inches (30-35 cm) for a single plant.
- Material: Use sturdy materials like terracotta or heavy plastic to prevent tipping.
Ensure the pot has drainage holes to avoid waterlogging.
3. Soil and Drainage
Hollyhocks thrive in well-draining soil that is rich in organic matter:
- Use a high-quality potting mix with compost added.
- For better drainage, mix in some perlite or sand.
- Avoid garden soil, as it can compact in pots and hinder root growth.
4. Planting Hollyhocks
From Seeds:
- Timing: Start seeds indoors 6-8 weeks before the last frost or sow them directly in pots in late spring.
- Depth: Sow seeds about ¼ inch (0.6 cm) deep and lightly cover with soil.
- Spacing: Thin to 1 plant per pot unless using very large containers.
From Transplants:
- Gently transplant young plants to avoid damaging their taproots.
- Place them at the same depth they were growing in their original container.
5. Light Requirements and Watering
Hollyhocks need full sun for at least 6-8 hours daily. Place the pot in a sunny location such as:
- South-facing patios.
- Open balconies.
- Near a sunny window if grown indoors.
- Keep the soil consistently moist but not waterlogged.
- Water deeply and let the top inch of soil dry out slightly between waterings.
- Reduce watering during dormancy in colder months.
6. Fertilizing
Hollyhocks are heavy feeders, especially in pots:
- Use a balanced fertilizer (10-10-10 or 20-20-20) every 2-3 weeks during the growing season.
- Switch to a phosphorus-rich fertilizer (e.g., 10-20-10) when buds appear to promote blooming.
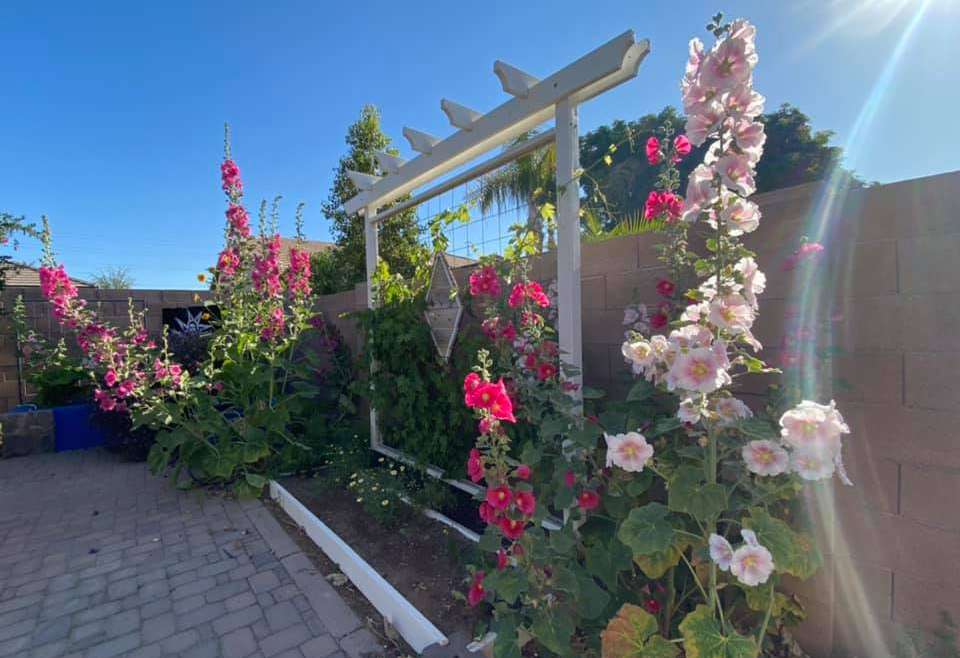
7. Supporting the Plants
Tall hollyhocks may need support in pots:
- Use bamboo stakes, trellises, or decorative obelisks.
- Tie the stems gently with soft ties or twine.
8. Pruning and Deadheading
- Deadheading: Remove spent blooms to encourage continued flowering and prevent self-seeding.
- Pruning: Trim damaged or diseased leaves to maintain plant health.
9. Pest and Disease Management
Hollyhocks are susceptible to certain pests and diseases:
- Rust: Prevent fungal rust by avoiding overhead watering and ensuring good airflow. Treat with a fungicide if necessary.
- Aphids and Mites: Control infestations with insecticidal soap or neem oil.
10. Overwintering
Hollyhocks are biennials but can behave as short-lived perennials. For overwintering:
- Move pots to a sheltered location if frost is severe.
- Mulch the soil surface with straw or shredded bark to protect roots.
- Reduce watering during dormancy but don’t let the soil dry out completely.
11. Encouraging Blooming
Hollyhocks typically bloom in their second year, but you can encourage first-year blooms by:
- Sowing seeds early indoors.
- Choosing varieties bred for first-year flowering (e.g., ‘Spring Celebrities’).
12. Companion Plants for Hollyhocks in Pots
Combine hollyhocks with trailing plants or lower-growing companions for an attractive display:
- Trailing lobelia or petunias for vibrant edges.
- Dusty miller or alyssum for contrasting textures.
Final Tips
- Rotate pots occasionally to ensure even sun exposure.
- Enjoy the beauty of your hollyhocks as they create a striking vertical display.
- Collect seeds from spent flowers to grow new plants next year.
Growing hollyhocks in pots is a rewarding way to enjoy their towering beauty in small spaces. With the right care and attention, you can cultivate a thriving container garden filled with these stunning blooms!
FAQs
Yes, hollyhocks can be grown in pots, but it’s important to choose a large enough container to accommodate their deep root system and provide ample space for growth.
Place the pot in a location that receives full sun for at least 6–8 hours a day. Hollyhocks thrive in bright, sunny conditions.
Water regularly to keep the soil moist but not waterlogged. During hot weather, hollyhocks in pots may need daily watering. Ensure good drainage to prevent root rot.
For sure! Sow seeds directly into the pot in early spring or late summer. Cover them lightly with soil, keep the soil moist, and expect germination in 10–14 days.
Install stakes or a small trellis in the pot to support the tall stalks. Tie the stems loosely with garden twine to prevent breakage.
Hollyhocks are typically biennials, meaning they bloom in their second year. However, some varieties (e.g., annual hollyhocks) bloom in the first year when started early indoors.
Yes, move the pots to a sheltered location, such as a garage or greenhouse, or insulate them with bubble wrap. Reduce watering during winter to avoid root rot.
Absolutely! Hollyhocks attract bees, butterflies, and hummingbirds, making them an excellent addition to any garden.
Yes, you can propagate hollyhocks from existing plants in pots by collecting and sowing seeds or dividing the root system of mature plants.
Sign up to get our FREE weekly emails
Gardening guides, tips, & videos delivered right to your inbox!